


 Melbourne BG SCS Train Timetable


Yet another layout…
It was about time to fill the table I'd bought from an op-shop a long time ago. I'd attempted a layout for this prior using the Arduino and CAN Bus to control it... but I somehow lost interest and demolished it. Hence we begin with the 810mm(Squared) Table Layout Version 2.0.
The space was relatively small and, thanks to my previous attempt, I knew there wasn't going to be much more than a loop-the-loop. The whole reason for building this was to run my 300 Series Shinkasen and that meant wide curves and wide clearances. For some reason I then decided that a loop-the-loop was boring and that I could fit a loop-the-loop-the-loop in.
I set to work on Anyrail.Net and found that a triple-loop was going to be tight. Unitrack had enough different radii curves to get the loops in, but I'd have to be using the tightest available... not too good for a 7-car Shinkansen. So... I started breaking the mould and making everything not-quite-fit together in the layout software. This meant slightly wider curves but potentially dangerous track joins where I would be 'stretching' the limits of unitrack to fit. Fortunately it turns out to be pretty forgiving.
I went to a not-so-local hobby store and found they had a HUGE selection of Japanese stock. I had my list printed from Anyrail and went about collecting. I also got some Walthers gradient foam for my crazy layout.
After a little fiddling the track was laid out and temporarily elevated into place. It all worked... but was a squeeze. With nothing stuck down you'd attempt to get track to connect in one spot and it'd fall out of alignment in another... I don't really recommend jamming Unitrack together in odd formations!
The result was a successful session of test running with all of the stock I could find!
Kato Unitrack vs. Moisture/Humidity from setting plaster
It probably should've been obvious, but I've just found out the hard way of the effects of drying plaster (Woodland Scenics Plaster Cloth) and Kato Unitrack when kept in a small enclosed space.
I've been building a new layout recently in a coffee table I acquired from a secondhand store. It's around 80x80cm and fits a nice loop-the-loop-the-loop layout.
After planning and purchasing the track, I started to build up the scenery. Once the foam was down, the plaster was laid. Due to wanting to be neat, I returned the setting/drying scenery back into the table each night to dry. I noticed on the second day that the plaster hadn't really dried that much, so I chose not to run any locos (there had been a C50 steamer sitting in the table overnight too!.)
The next day I then noticed that the track had a strange tinge to it. I attempted to run the steamer, but the performance was terrible (although this was second hand and hadn't run 100% in the first place.) Another locomotive didn't do much better.
The cause was obvious on closer inspection...
(First image: notice that left track is shiny and right is dull. Second image: see mould.)
After 'phoning a friend' on the JNS Forums, a few possible options came up... the most probably one being the chemicals used in the plaster cloth. These could well have hung around inside the glass table whilst the plaster was drying and adversely affected the track.
I'm still in the process of cleaning it all up (a quick once-over with a cleaning block worked fine)... the sides of the rails are still tarnished. Currently alcohol-wipes are doing the best job of cleaning this mess up!
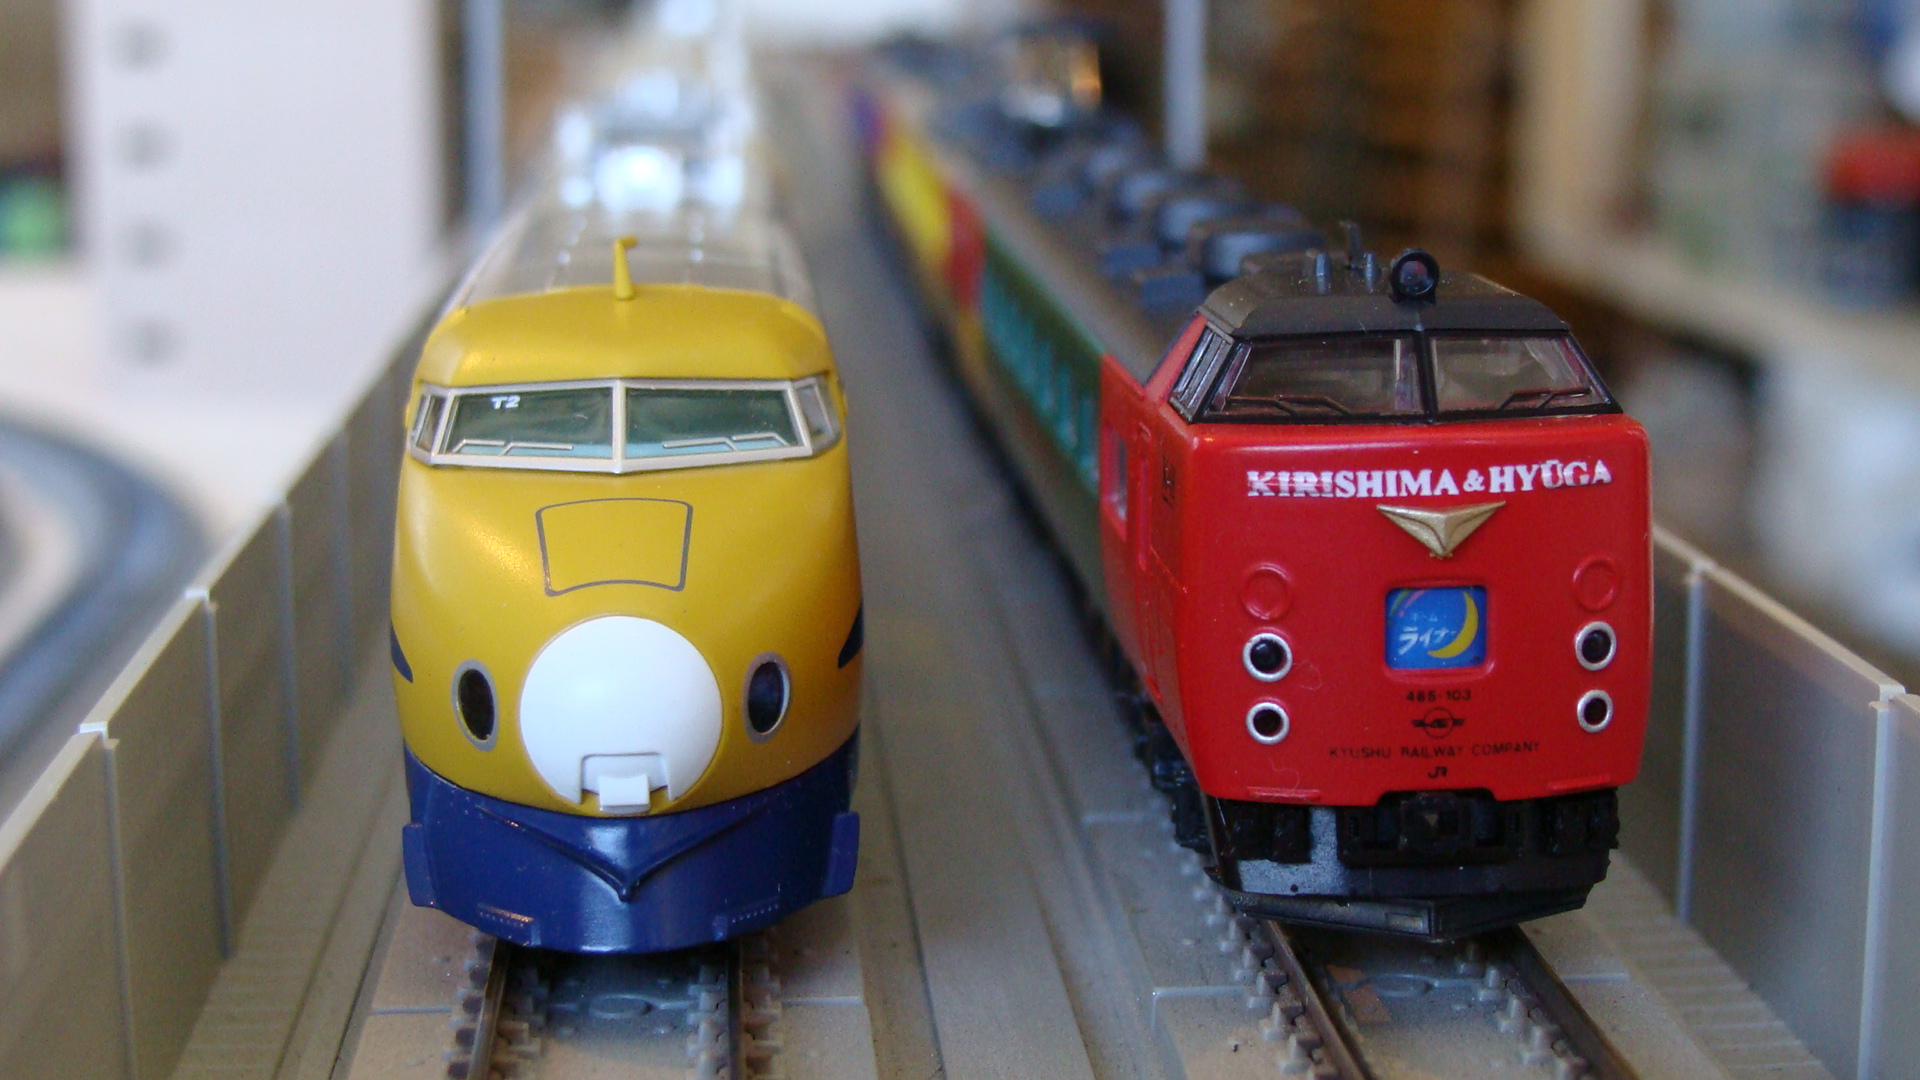
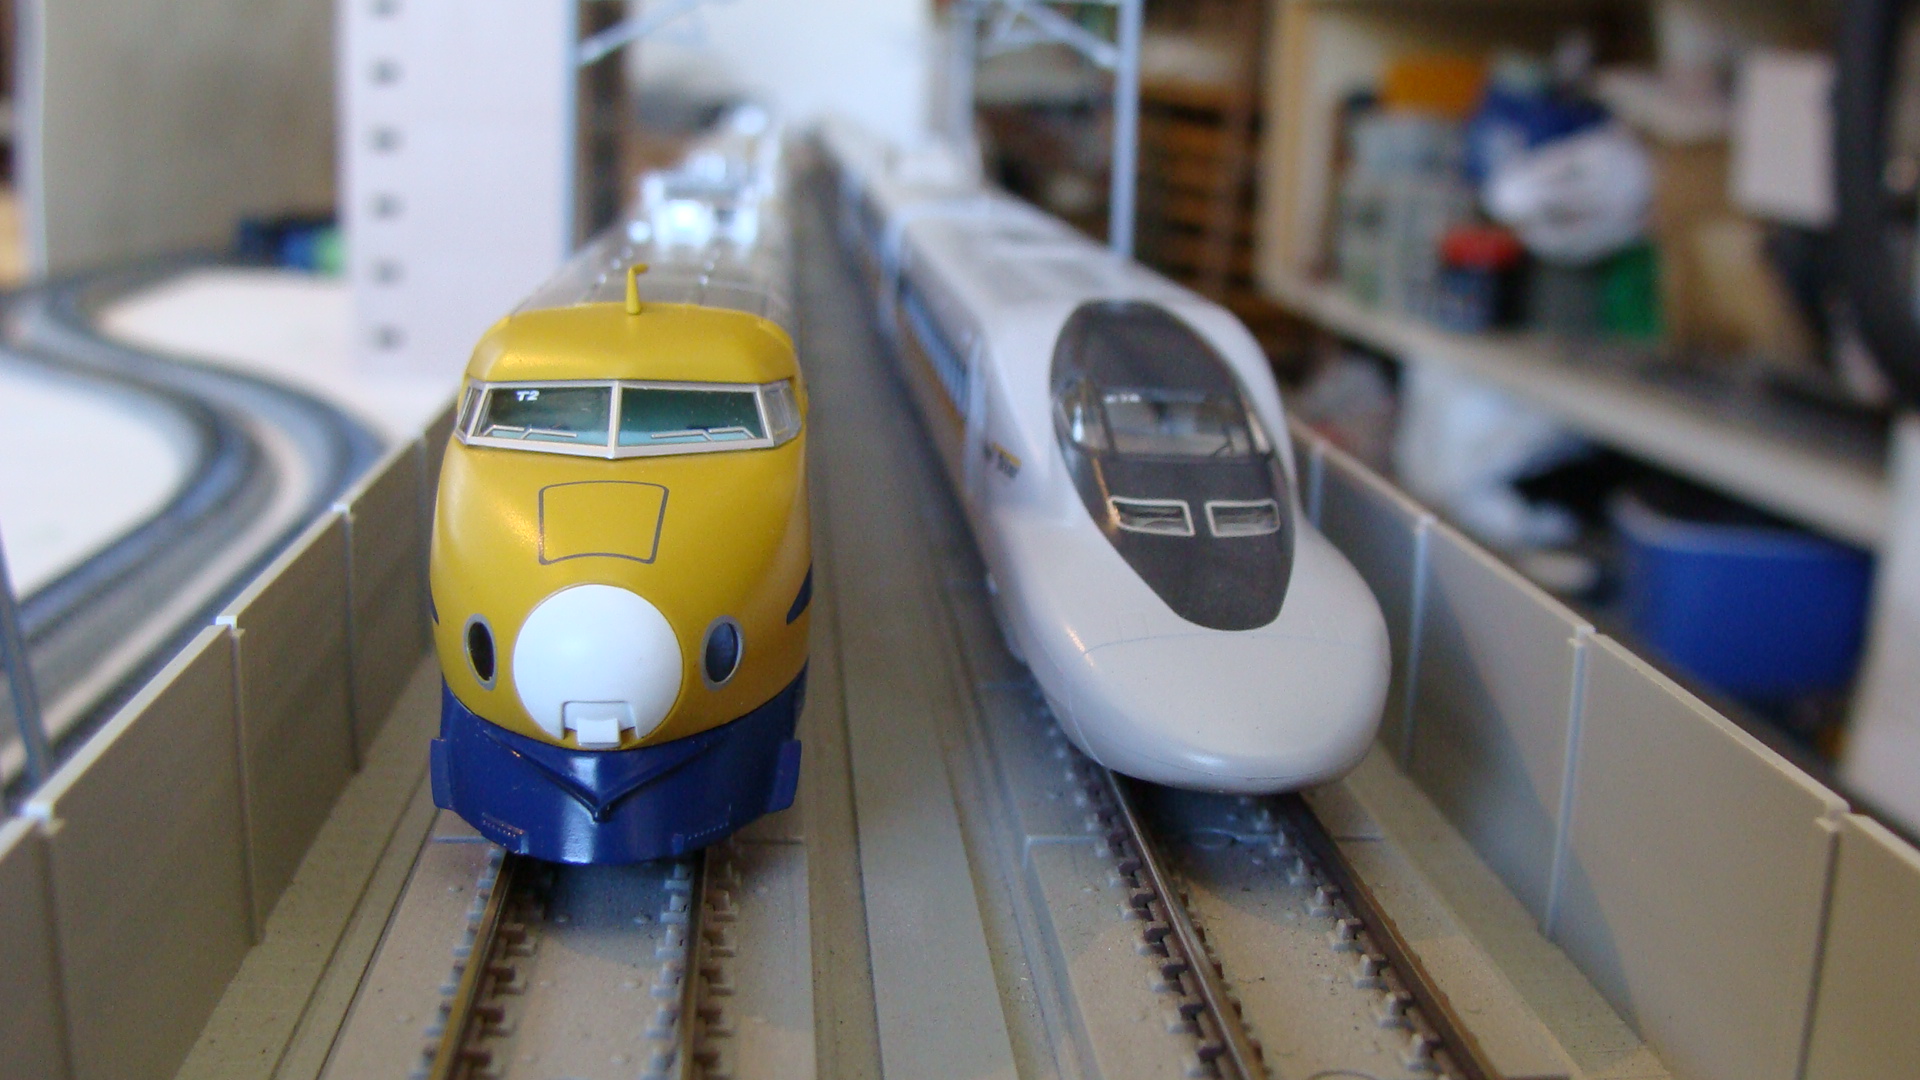
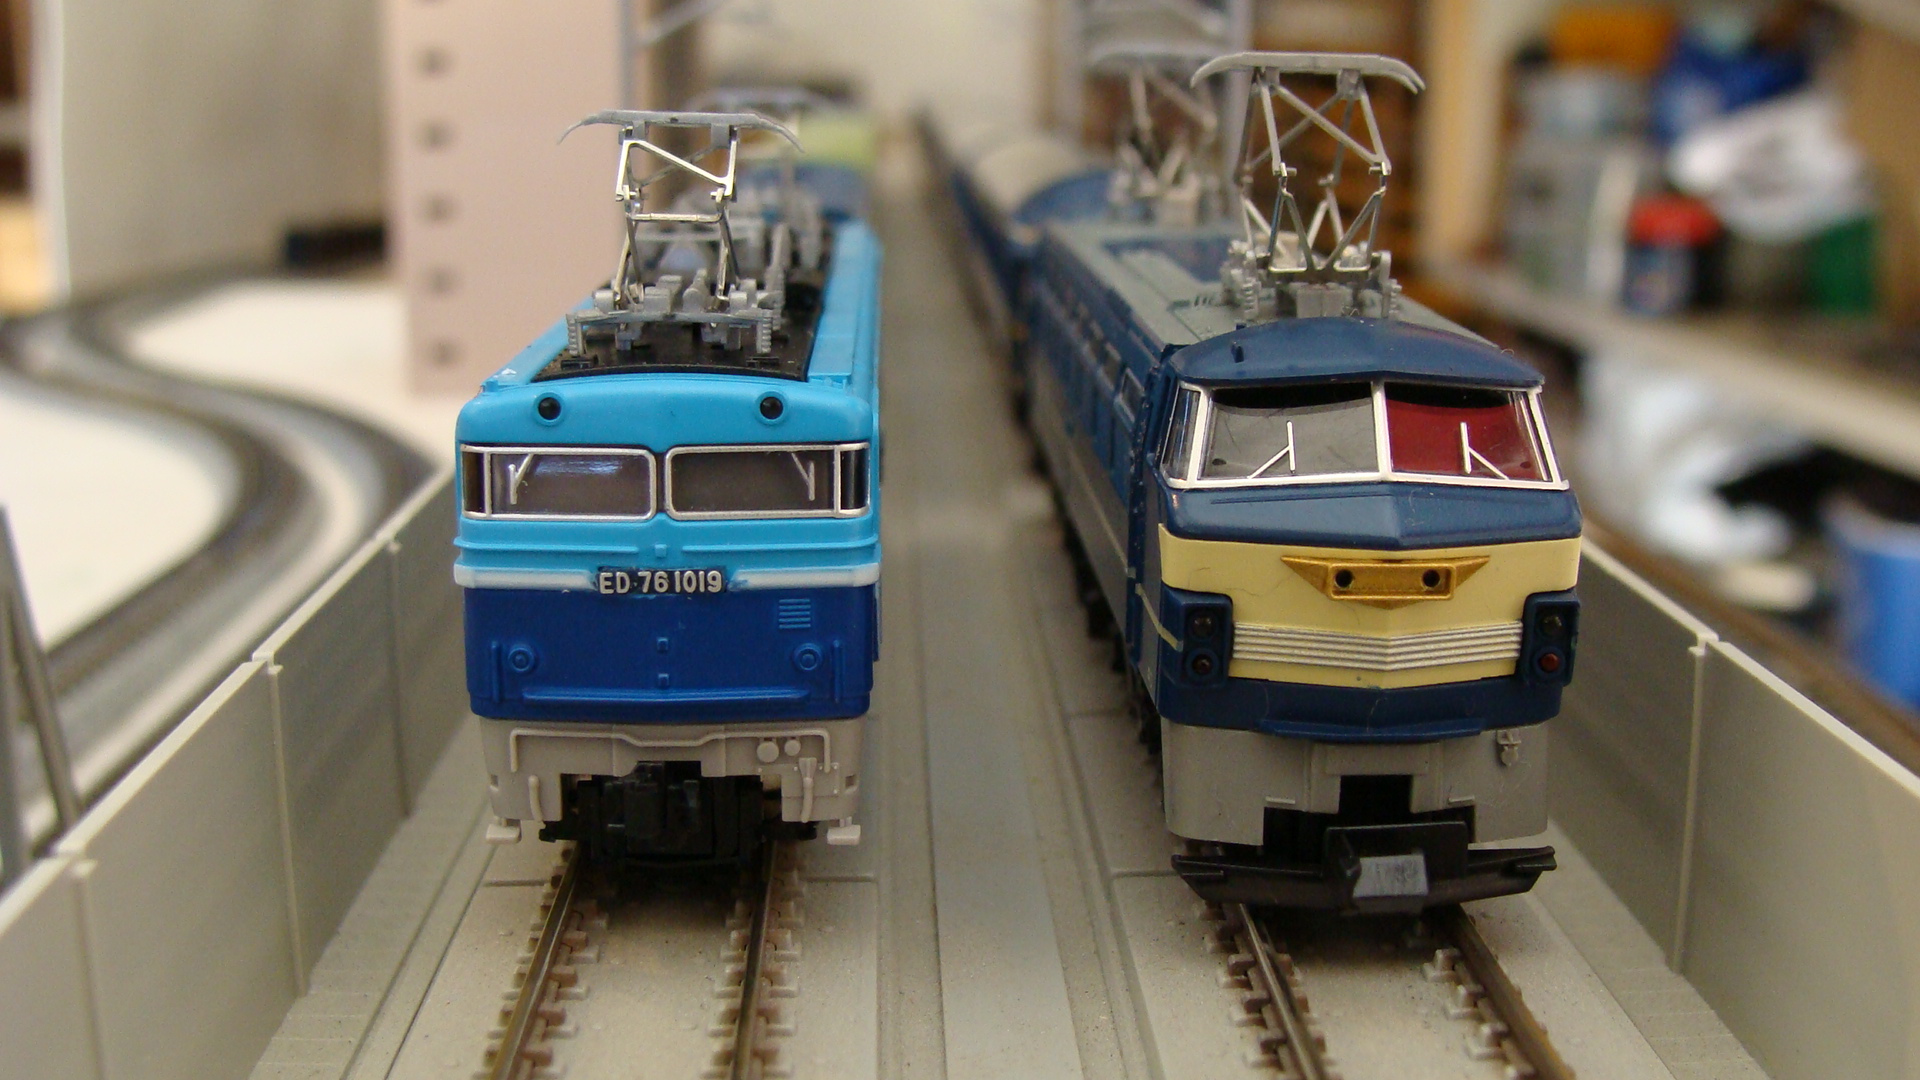
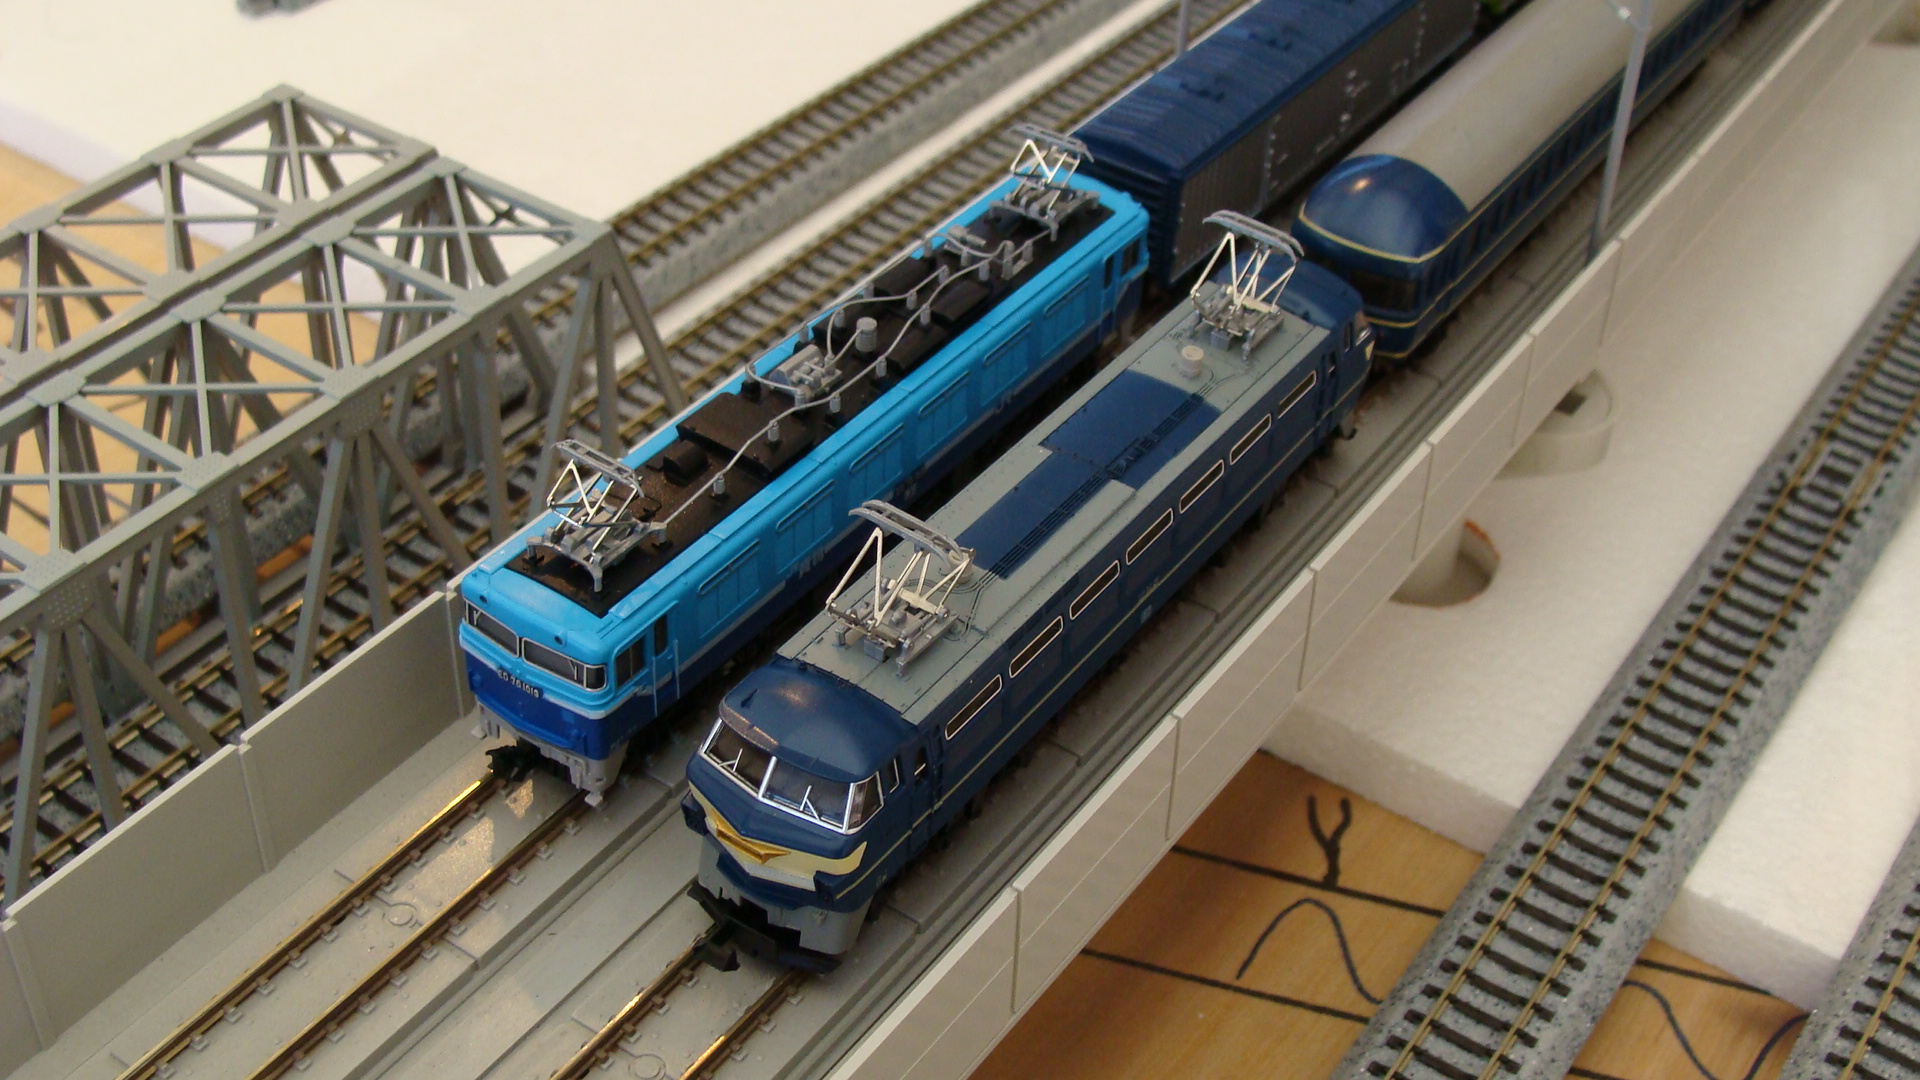
Layout obtained, Trains purchased.
So much has happened over the last month that I've had zero time to get to this site... but I'm finally going to report on the latest happenings.
The new Layout
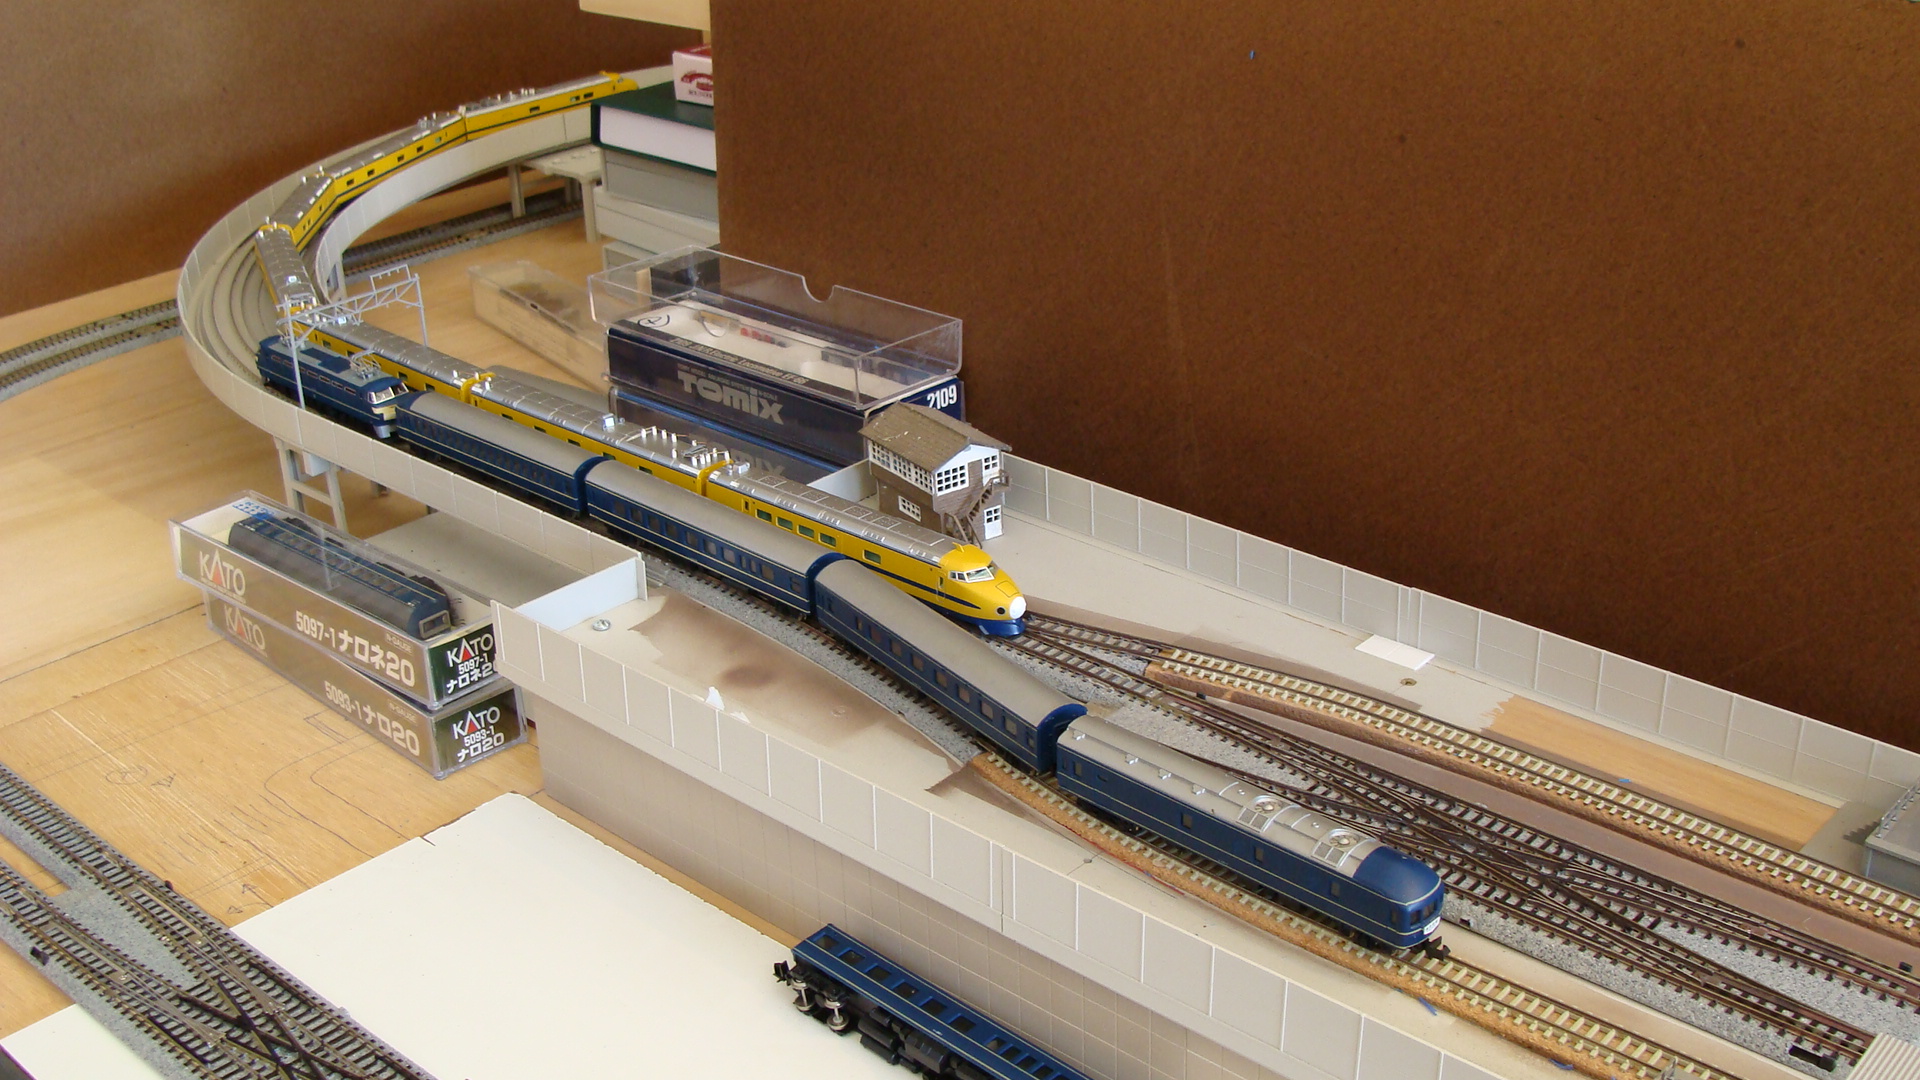
Firstly, I bought a Shinkansen Layout on eBay from Victoria and, over the space of the last three weeks, have managed to transport, reassemble and finally run it.
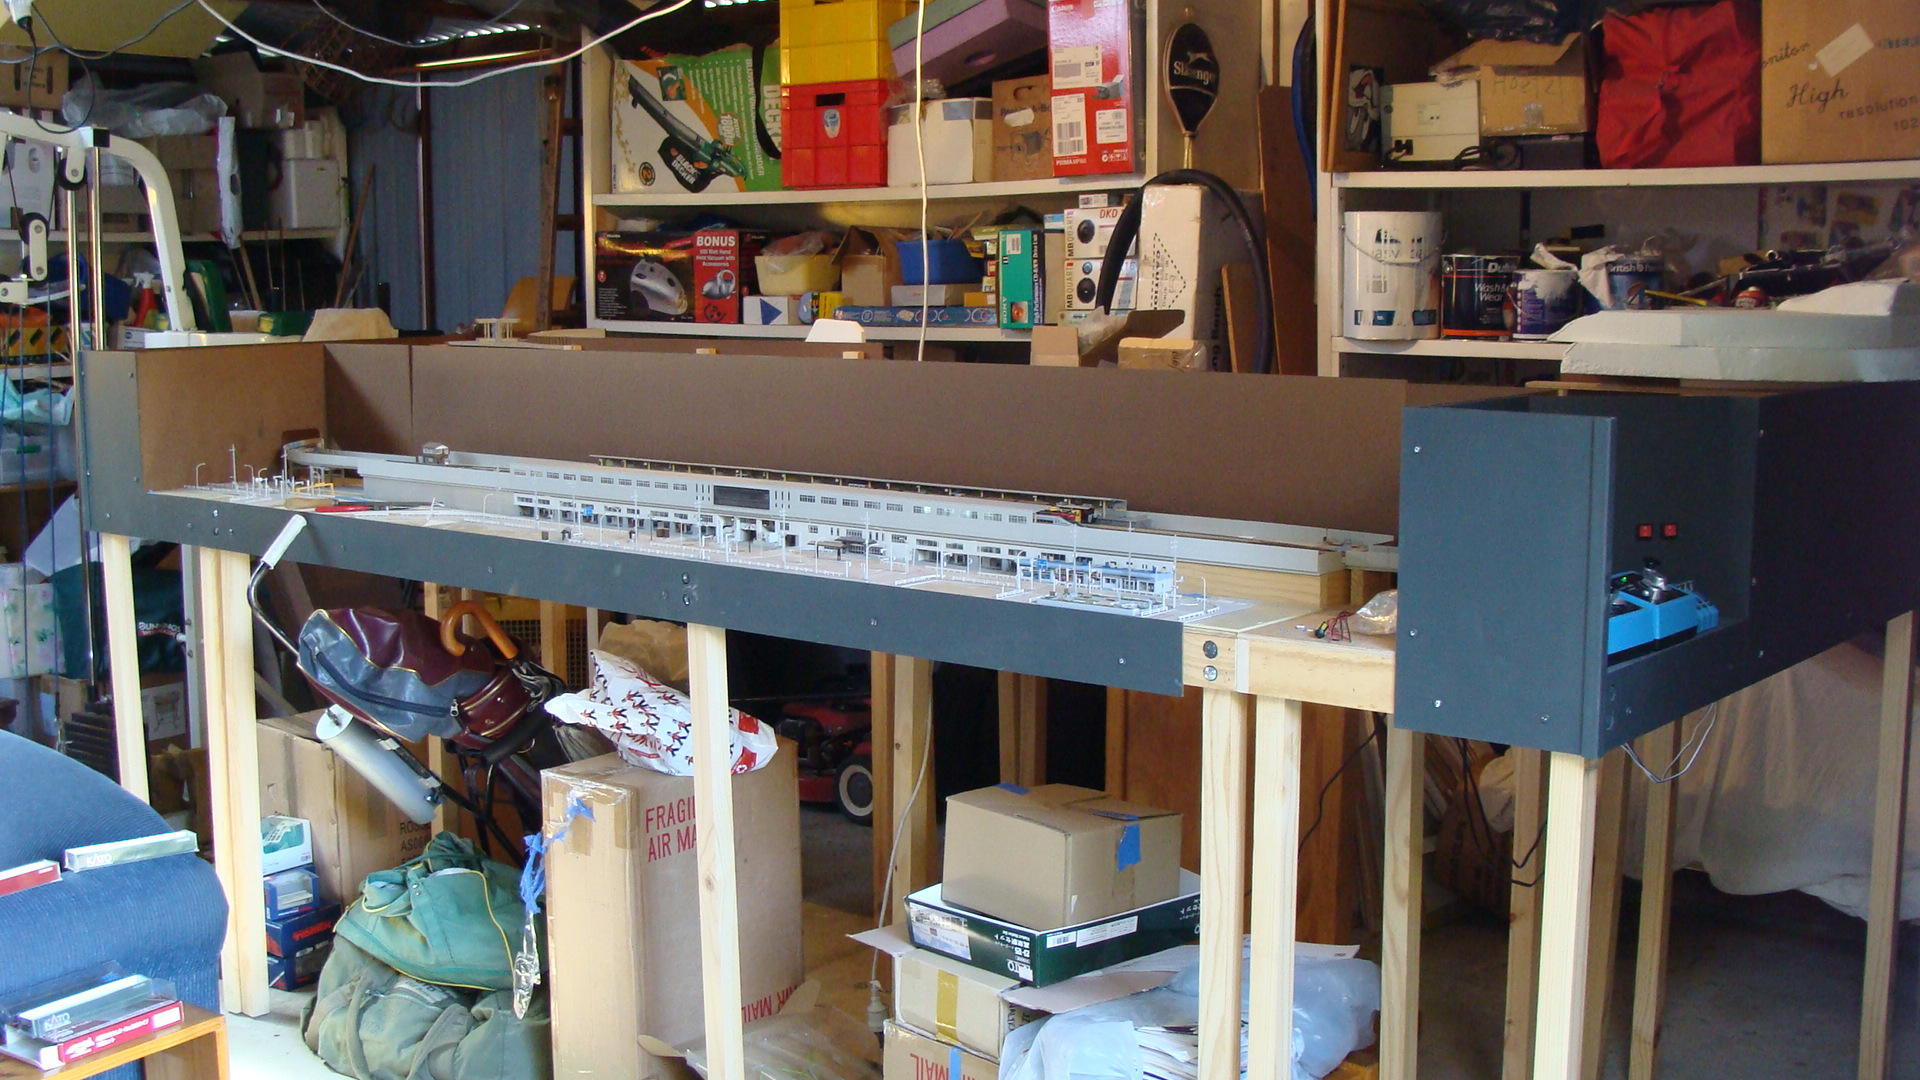
I hired a flatbed/cage ute and drove it down to Melbourne without dramas. The return trip was a lot harder... I initially had the choice of two seperate utes until I'd realised one was slightly bigger, of which I then fought for. This became even more crucial as when loading the layout we soon found out that the space available was near-on perfect.
Once on the road, it turned out that the tarpaulins I bought were cheap-as-crap and split/shredded/tore very quickly. I got around 250~350ks out of them (out of the ~800k trip) until they failed and flew everywhere... We then had to stop at random intervals in random locations to either purchase new taps on the way and cover portions, or untie broken straps and tidy everything up.
We then proceeded to hit a storm... but ended up chasing it slowly through to Yass. The road in front was wet; but our load stayed safe.
The layout was dumped at the parents house in pieces and then not gotten back to until a week later. Of course, the night I was to reassemble, I'd forgotten the bag of bolts to connect everything and therefore couldn't do a thing. It wasn't until a week after that when I could finally set it all up (last Wednesday.)

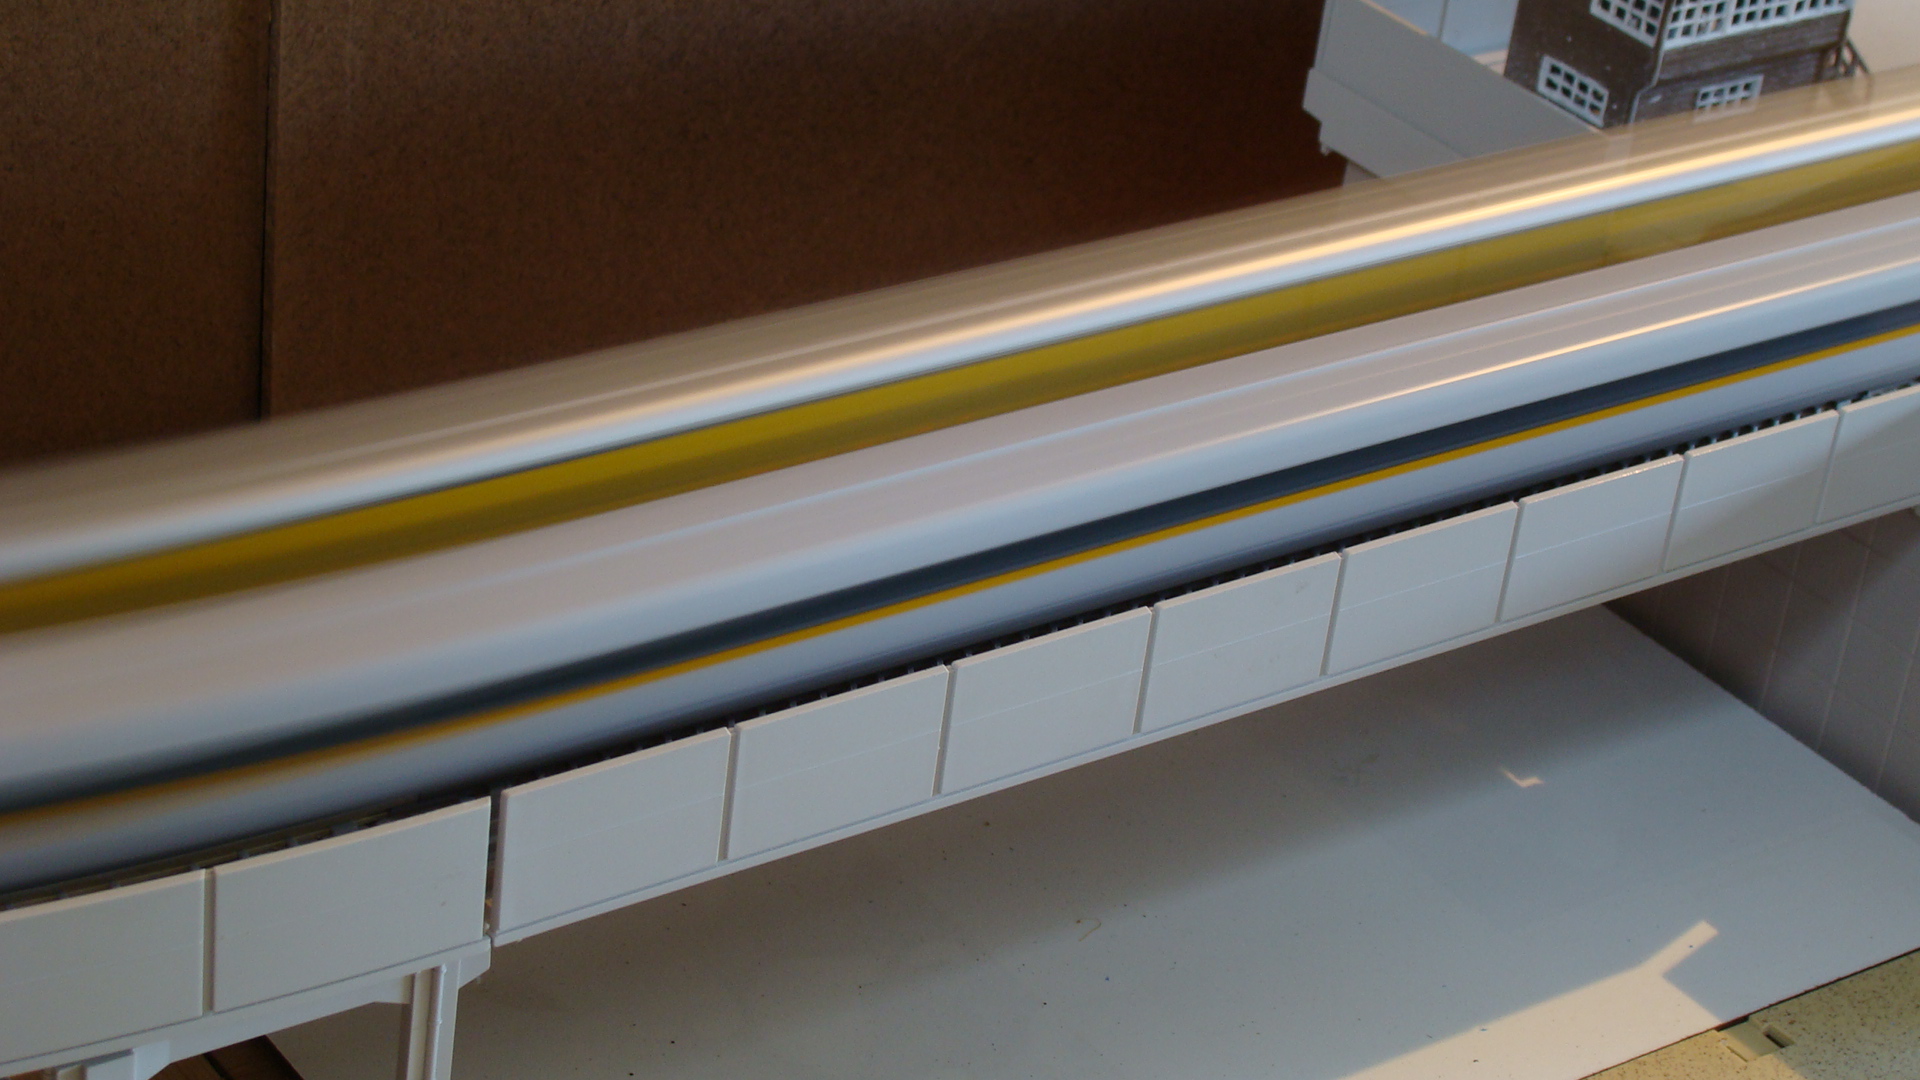
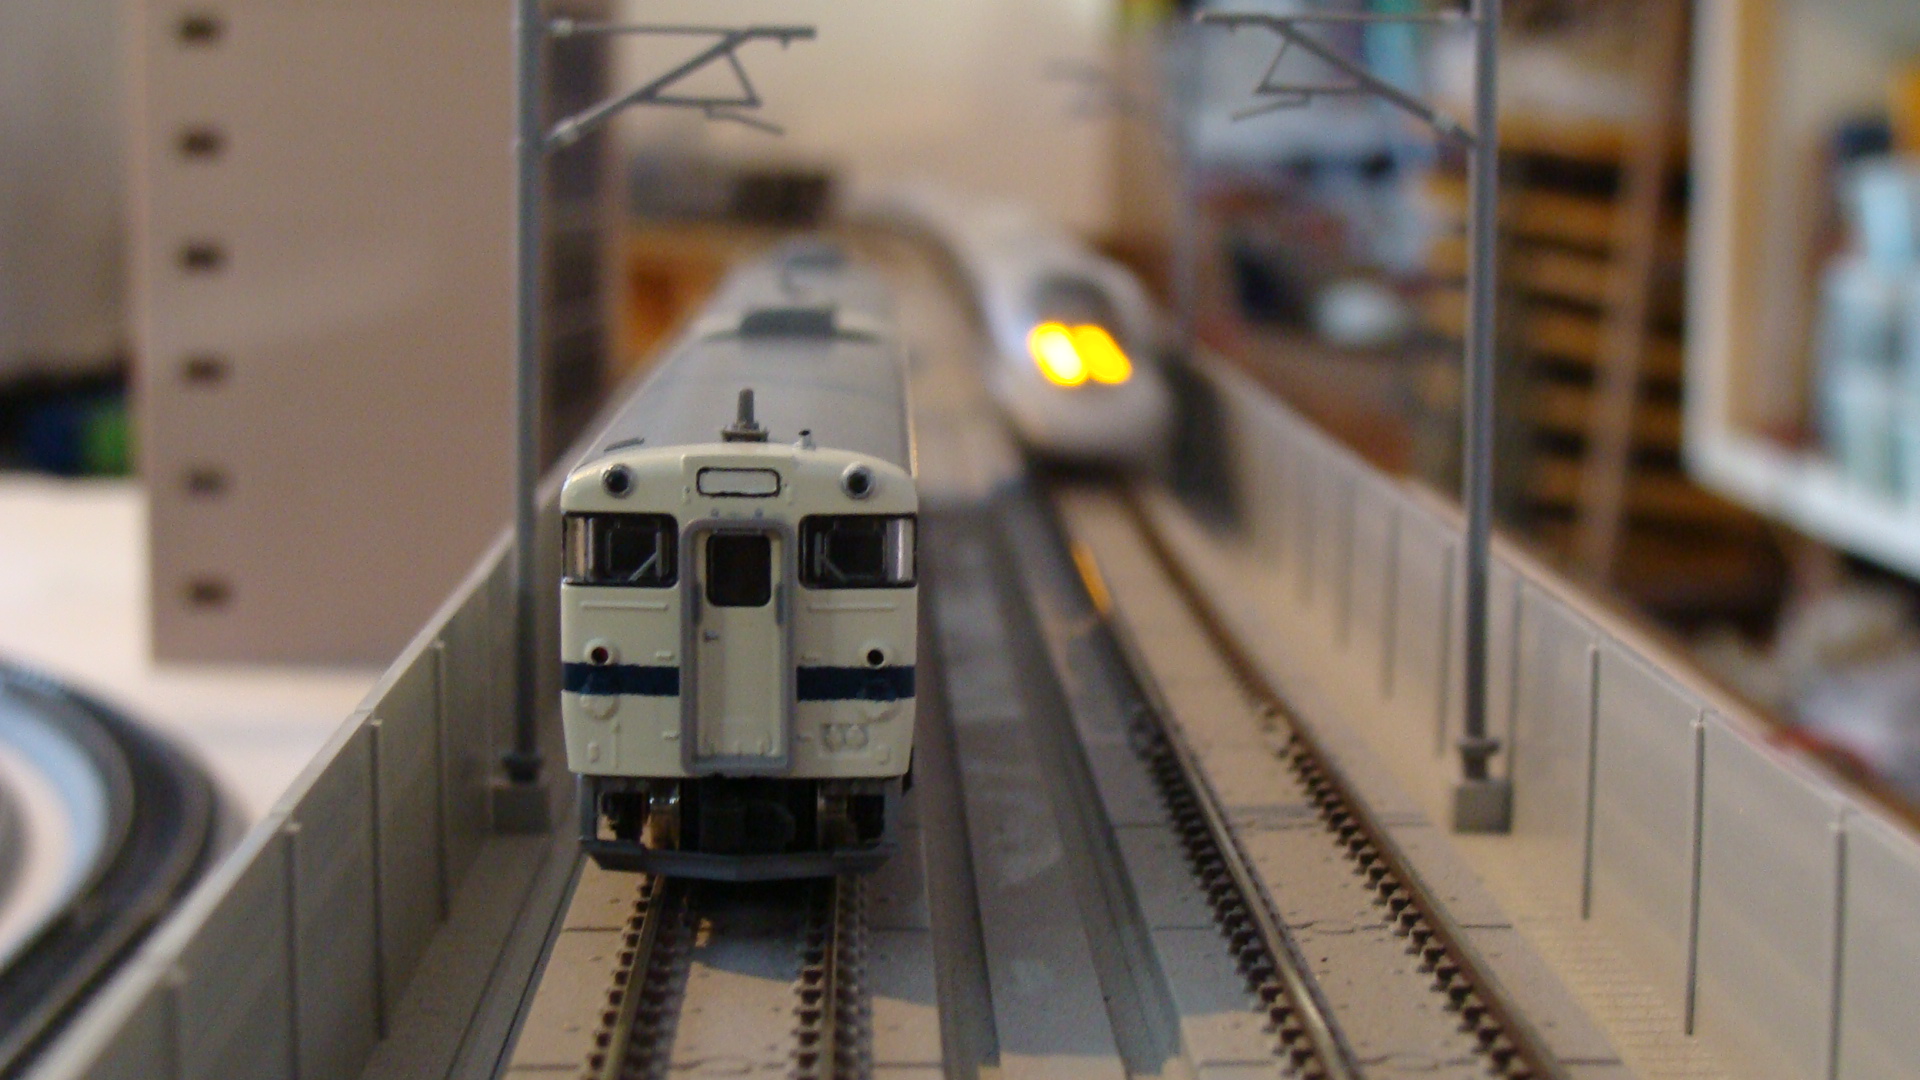
The first run was of my Series 0 Doctor Yellow and my newly acquired Hikari RailStar. It ends out that I could not get either of them to complete a full lap. Sure, the layout had been through an ordeal and the tracks/wheels probably had not been cleaned for a while... but this was Japanese stock and I expected at least a full lap on full speed. Time ran out quickly that night and I went home at least accomplishing a fully reconstructed layout.
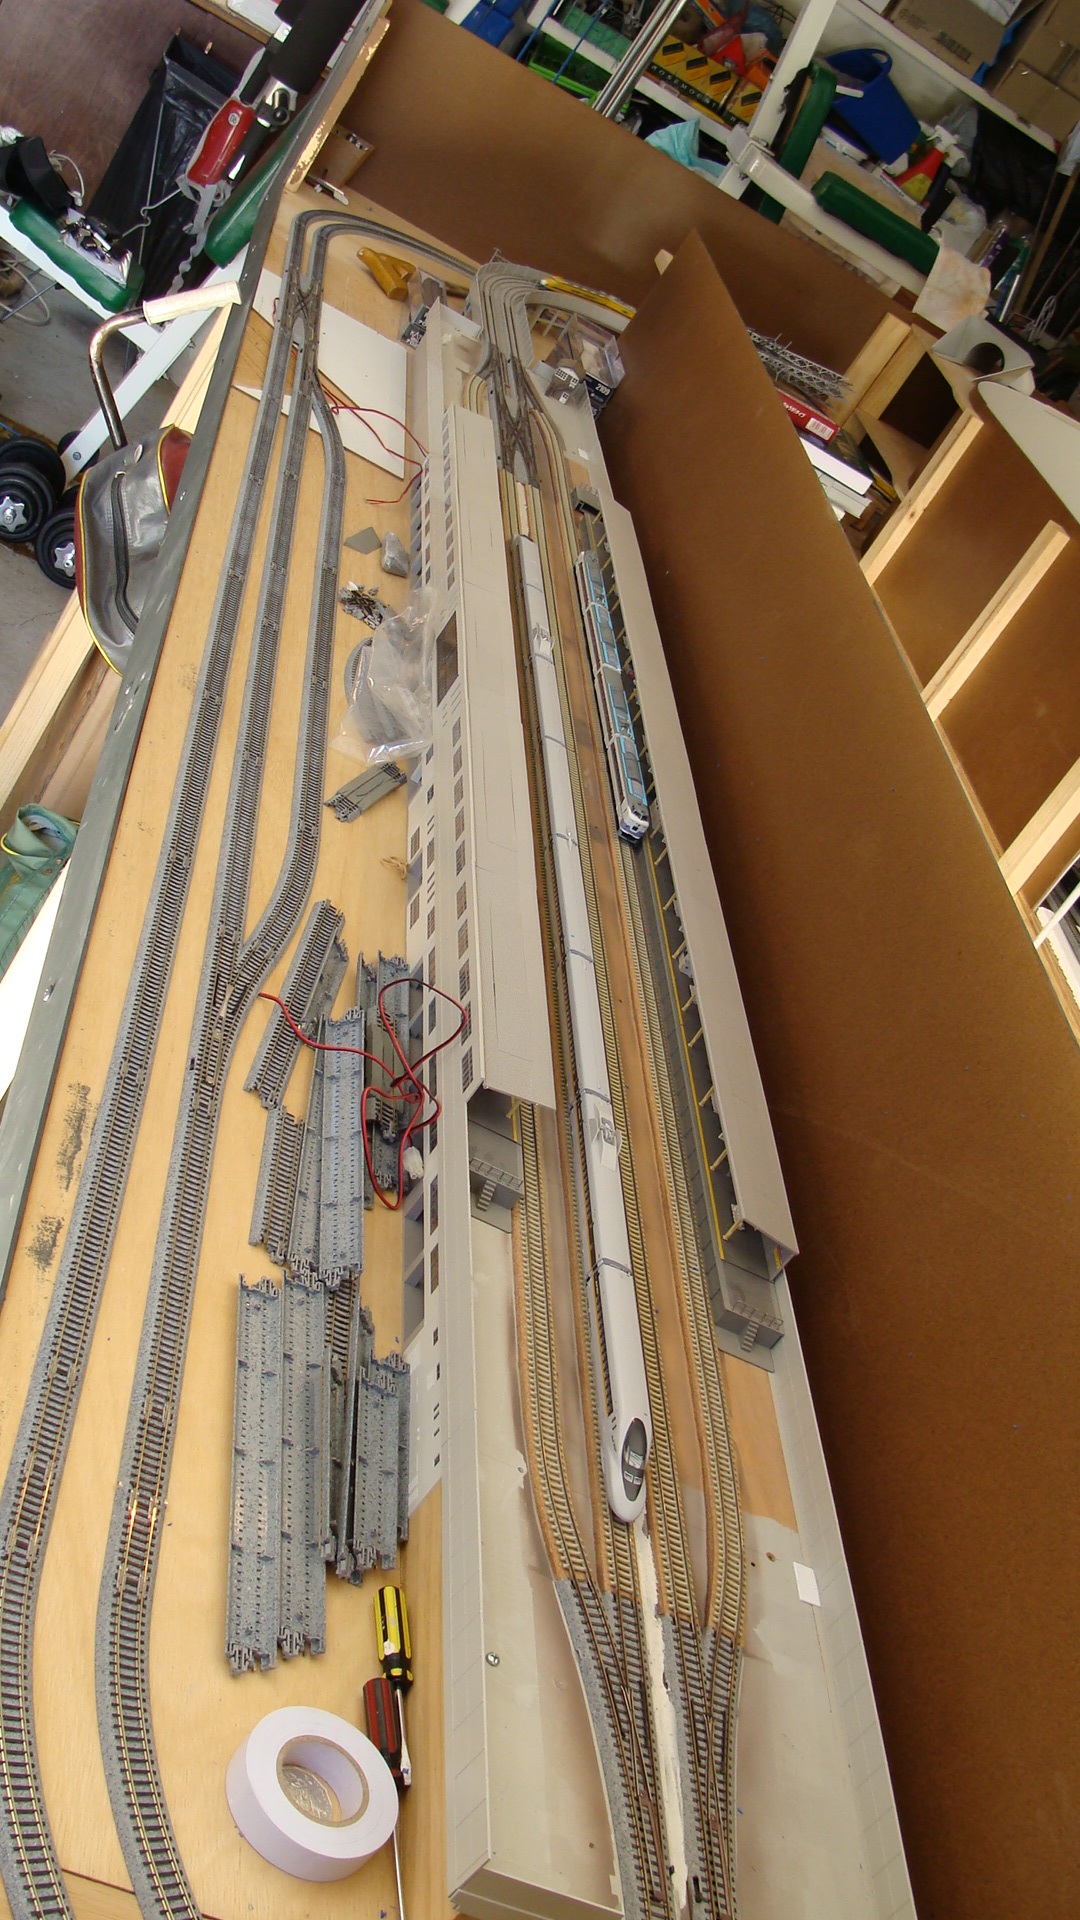
Finally today (Saturday, Jan 24th 2009) I was able to have a proper day of running. See the photo album here. I started to thoroughly clean the layout and also removed bits and pieces to see how it was all constructed.
I also bought a step-down transformer (as the Kato powerpacks weren't dual voltage) and ran the track on the provided transformers... it turns out that the shinkansen reacted much better than this doing laps at very low speeds and also achieving very high speeds.
The final goal was to attempt to set up a local line, but I'd forgotten the feeder cables to the unitrack I had and also ran out of time.
Japan Auction Center
So, you want something from Japan, but it's on Yahoo Auctions Japan and most of the sellers (if not all) wont ship internationally nor speak English. This is where Japan Auction Center comes to your rescue. For a nominal fee you can use their website to deposit money (must be done before you can bid) and then utilise the owners Auction ID to bid on Japanese Auctions. It's all done real-time and can be a lot of fun bidding against the Nihonjins.
There's an interesting note of difference between Yahoo Auctions Japan and eBay. The process is very much the same (proxy bidding, etc...) but if you happen to bid in the last 5 minutes of an auction then the auction end time will be extended another 5 minutes. This then means that there can be no sniping and that the buyer who truly wants the item will get it.
Anyway, I bought quite a few items and will be back online shortly to finally get my 300 Series Shinkansen.
The loot:
In conclusion...
I'm one happy camper... a new layout and new trains. I want to get the local lines done very soon and then the buildings/rural area/city planned out. I intend on changing the main city area to a Shin-Osaka style station with yards.. but we'll see what the space can provide.
Random Photos
Search
Tags
Links - Click for details
- Abandoned Rails (Japan)
- AIRLINE (Shinkansen Photography)
- Akihabara Station
- annexpressのブログ
- Australian Model Railway Magazine
- DCC普及協会ホームページ (Japanese DCC)
- Dead Section (Japanese Track Diagrams)
- Delicious Things (Japanese N Scale DCC)
- Densha Wotorou
- Digital Direct for Windows (DCC Server)
- Don's Dream World – AMAZING N Scale Japanese Layout
- Hatena::Diary
- Japanese N-Scale Modeling Forum
- JR Chiisai
- Kaz-T's blog レインボーライン (Rainbow Line)
- LED Resitance Calculator
- Masioka
- Poppondetta Blog
- RailFan Magazine, Japan
- Railmind
- Railway Travelers' Room
- Serenity Valley
- Shashinka Ichiban
- Shuzuku
- Sumida Crossing
- The next station is…
- Tomix N Gauge Track and Japanese N Gauge Trains
- TT Forums (Transport Tycoon Deluxe)
- 名鉄尾西線の貨物列車 (Nagoya: Meitetsu Freight)
- 日本型Nゲージ DCC改造例のご紹介 (Okiraku DCC)
- 泰 茅 轍 道 (Taichi Railway)
- 箱庭登山鉄道製作記 (Hakone-Tozan Layout Blog)
Archive
- July 2026
- May 2026
- April 2026
- March 2026
- February 2026
- January 2026
- November 2025
- October 2025
- September 2025
- August 2025
- July 2025
- June 2025
- February 2025
- January 2025
- November 2024
- September 2024
- August 2024
- July 2024
- June 2024
- May 2024
- April 2024
- March 2024
- February 2024
- December 2023
- October 2023
- September 2023
- August 2023
- July 2023
- June 2023
- May 2023
- April 2023
- March 2023
- December 2022
- November 2022
- October 2022
- April 2022
- March 2022
- February 2022
- January 2022
- December 2021
- November 2021
- September 2021
- August 2021
- July 2021
- May 2021
- March 2021
- February 2021
- January 2021
- October 2020
- September 2020
- August 2020
- July 2020
- June 2020
- May 2020
- April 2020
- March 2020
- January 2020
- December 2019
- November 2019
- October 2019
- September 2019
- August 2019
- July 2019
- June 2019
- April 2019
- March 2019
- February 2019
- January 2019
- December 2018
- November 2018
- October 2018
- September 2018
- August 2018
- July 2018
- June 2018
- May 2018
- April 2018
- March 2018
- January 2018
- December 2017
- November 2017
- October 2017
- September 2017
- August 2017
- July 2017
- June 2017
- May 2017
- March 2017
- February 2017
- January 2017
- December 2016
- November 2016
- October 2016
- September 2016
- August 2016
- July 2016
- June 2016
- May 2016
- February 2016
- November 2015
- October 2015
- September 2015
- August 2015
- July 2015
- June 2015
- May 2015
- April 2015
- March 2015
- February 2015
- January 2015
- December 2014
- November 2014
- August 2014
- July 2014
- May 2014
- April 2014
- March 2014
- December 2013
- November 2013
- October 2013
- June 2013
- August 2012
- April 2012
- March 2012
- February 2012
- November 2011
- October 2011
- September 2011
- July 2011
- June 2011
- May 2011
- April 2011
- March 2011
- February 2011
- January 2011
- December 2010
- November 2010
- October 2010
- September 2010
- August 2010
- June 2010
- May 2010
- April 2010
- March 2010
- February 2010
- January 2010
- December 2009
- November 2009
- October 2009
- August 2009
- January 2009
- December 2008
- November 2008
- October 2008
- September 2008
- July 2008