


 Melbourne BG SCS Train Timetable


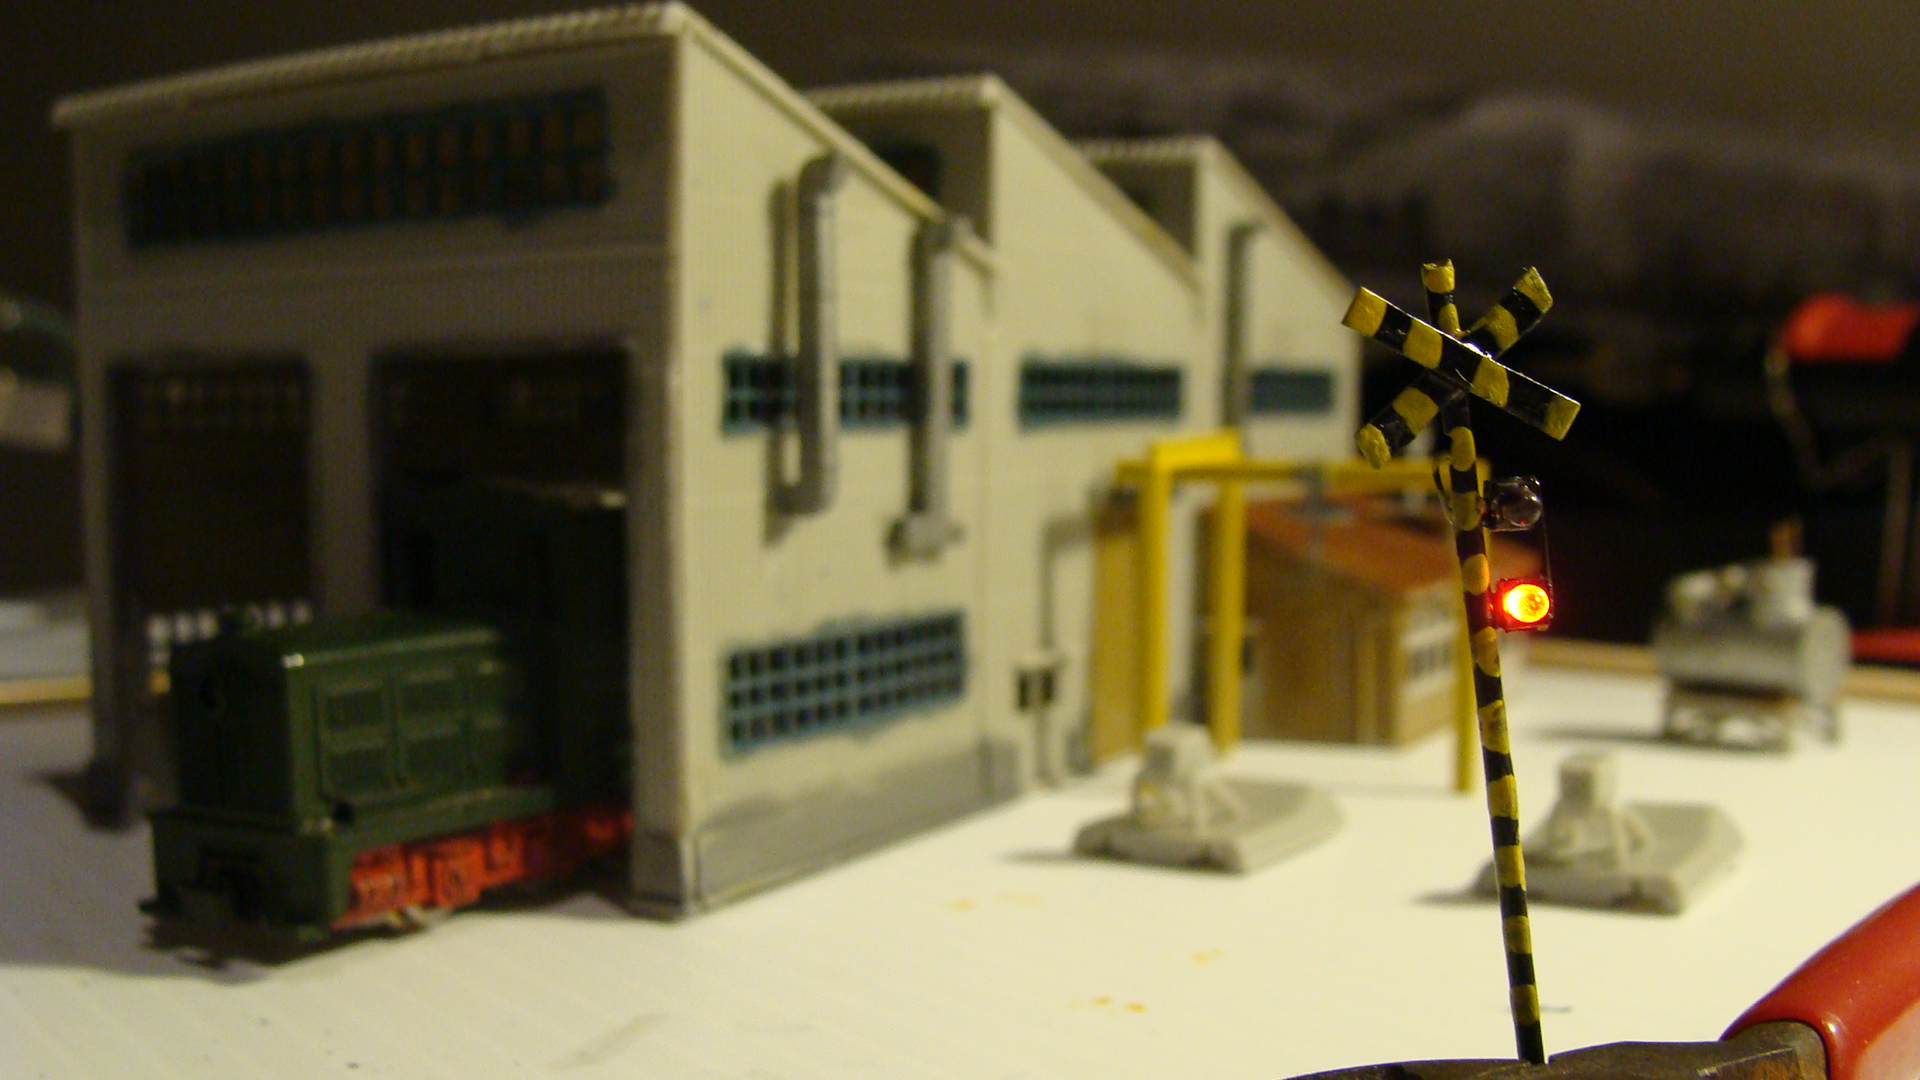
Japanese Level Crossing Lights
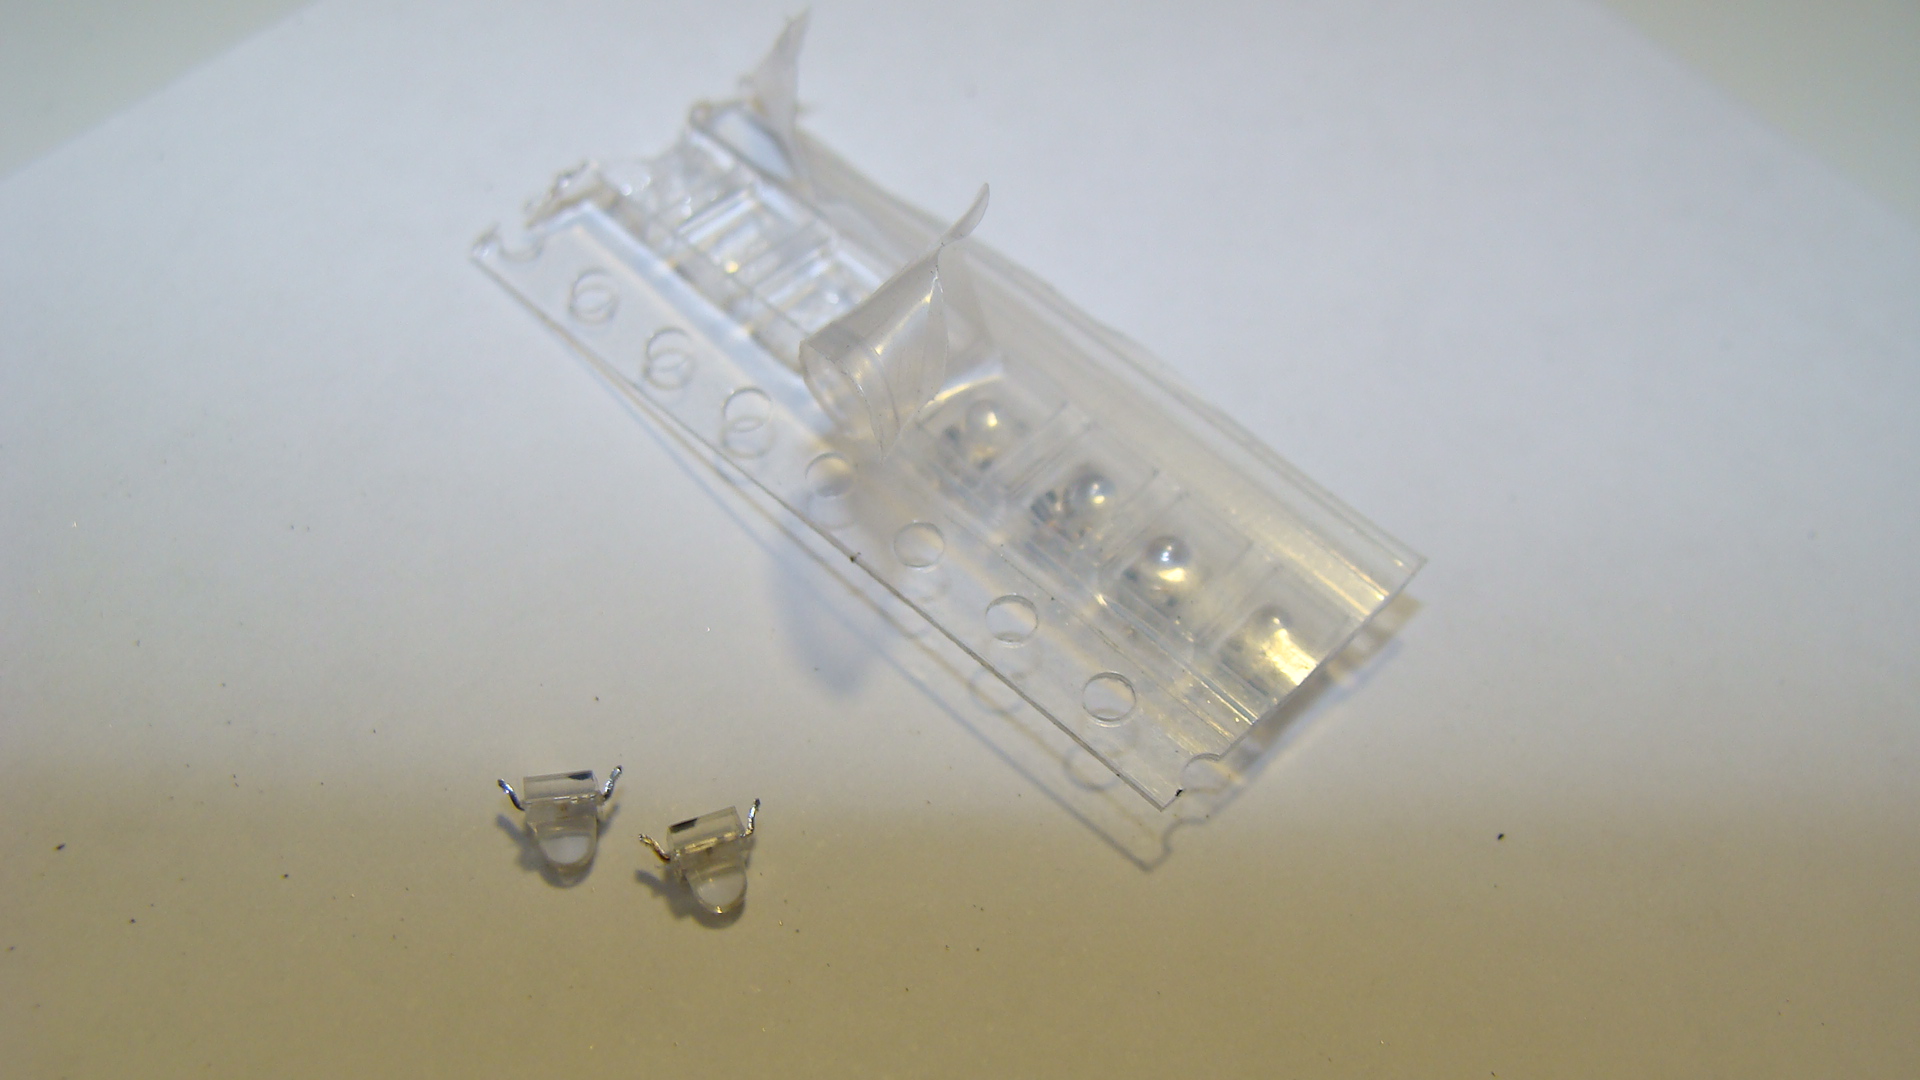
After seeing how small surface-mount LEDs have gotten, and how cheap, I decided I'd grab a few from our local Jaycar Electronics Store and build a Japanese level crossing signal/light.
Ingredients
- Red SMD LEDs
- Metal tubing, hollow, for the main pole. I used brass from the local hobby store.
- Copper 'winding' wire. Used since it's already insulated.
- Soldering equipment.
- Thin cardboard
The process
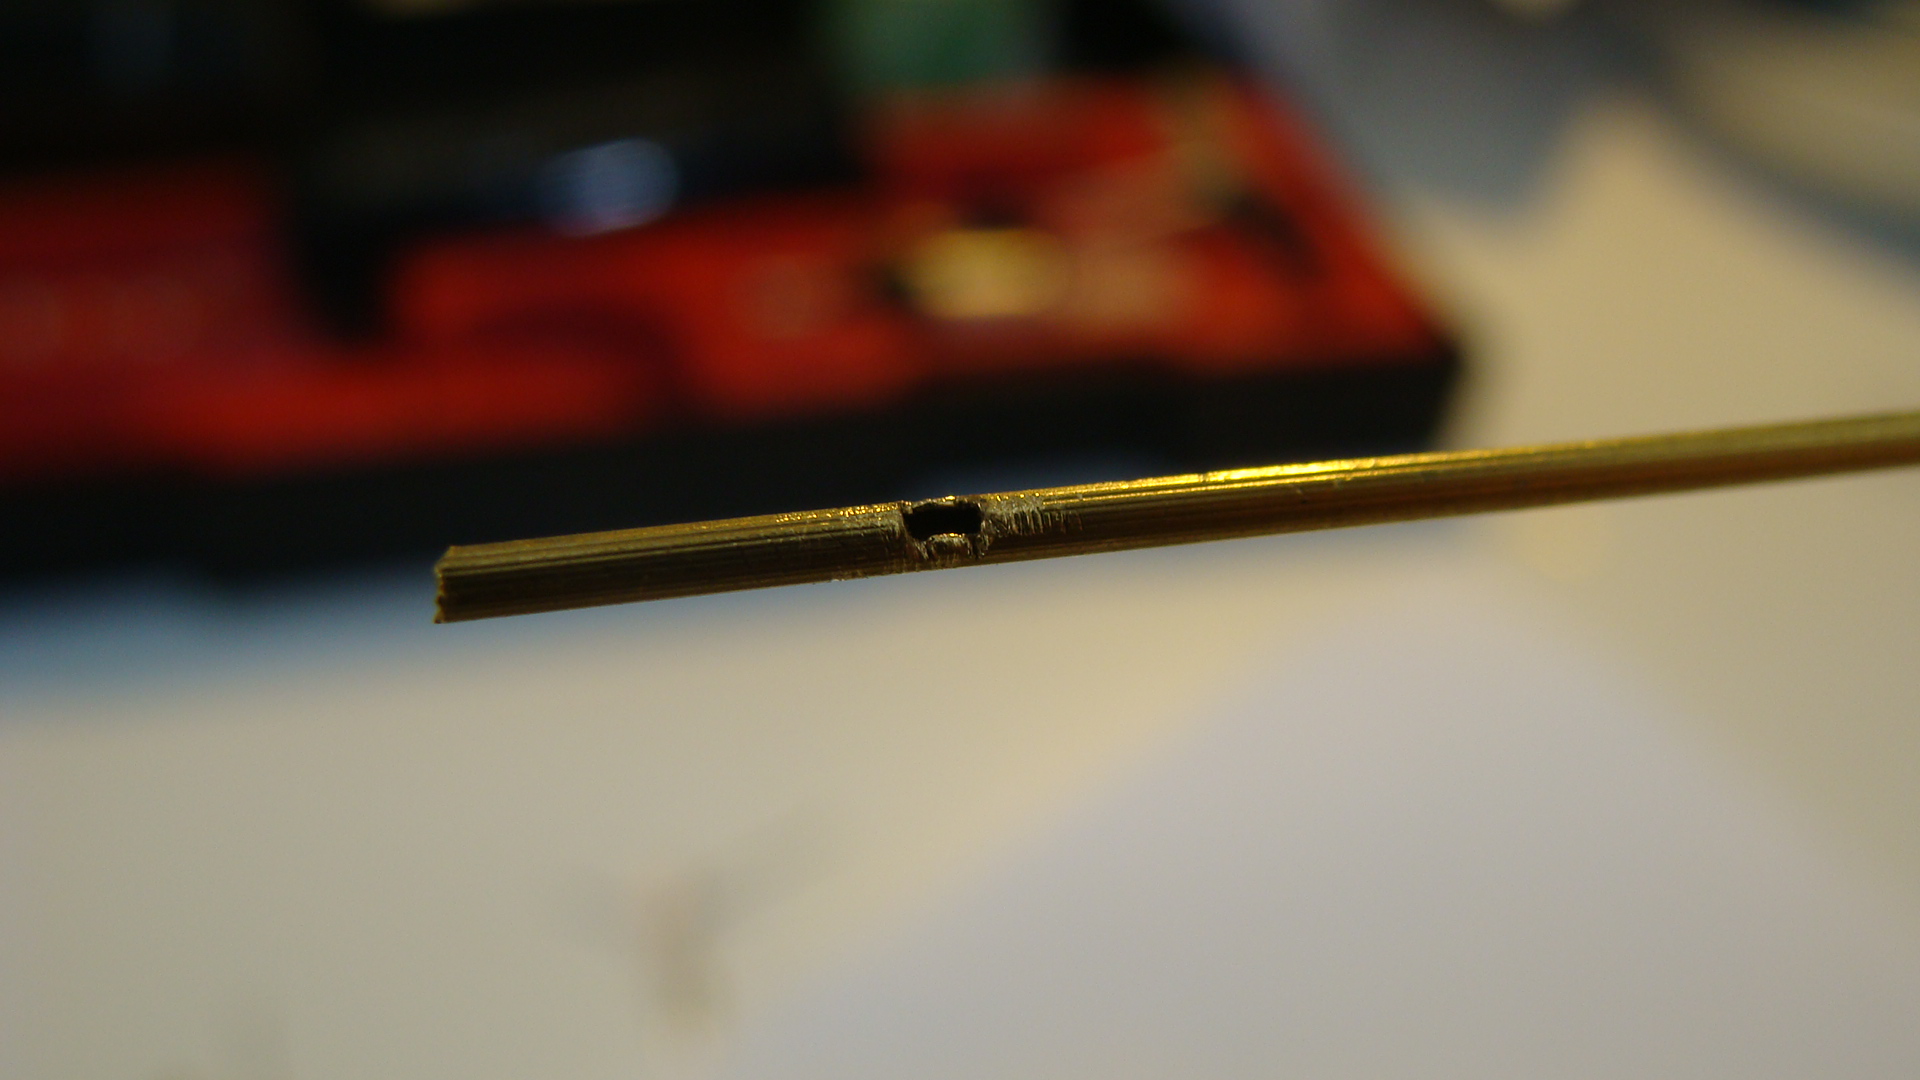
Firstly cut a length of the metal pole and then grind a hole in it behind the area where you intend on soldering the LEDs.
You can see I've run the copper wire through to make sure there are no obstructions. Be careful when doing this as you may well remove the insulation where the wire will rub on the metal pole.
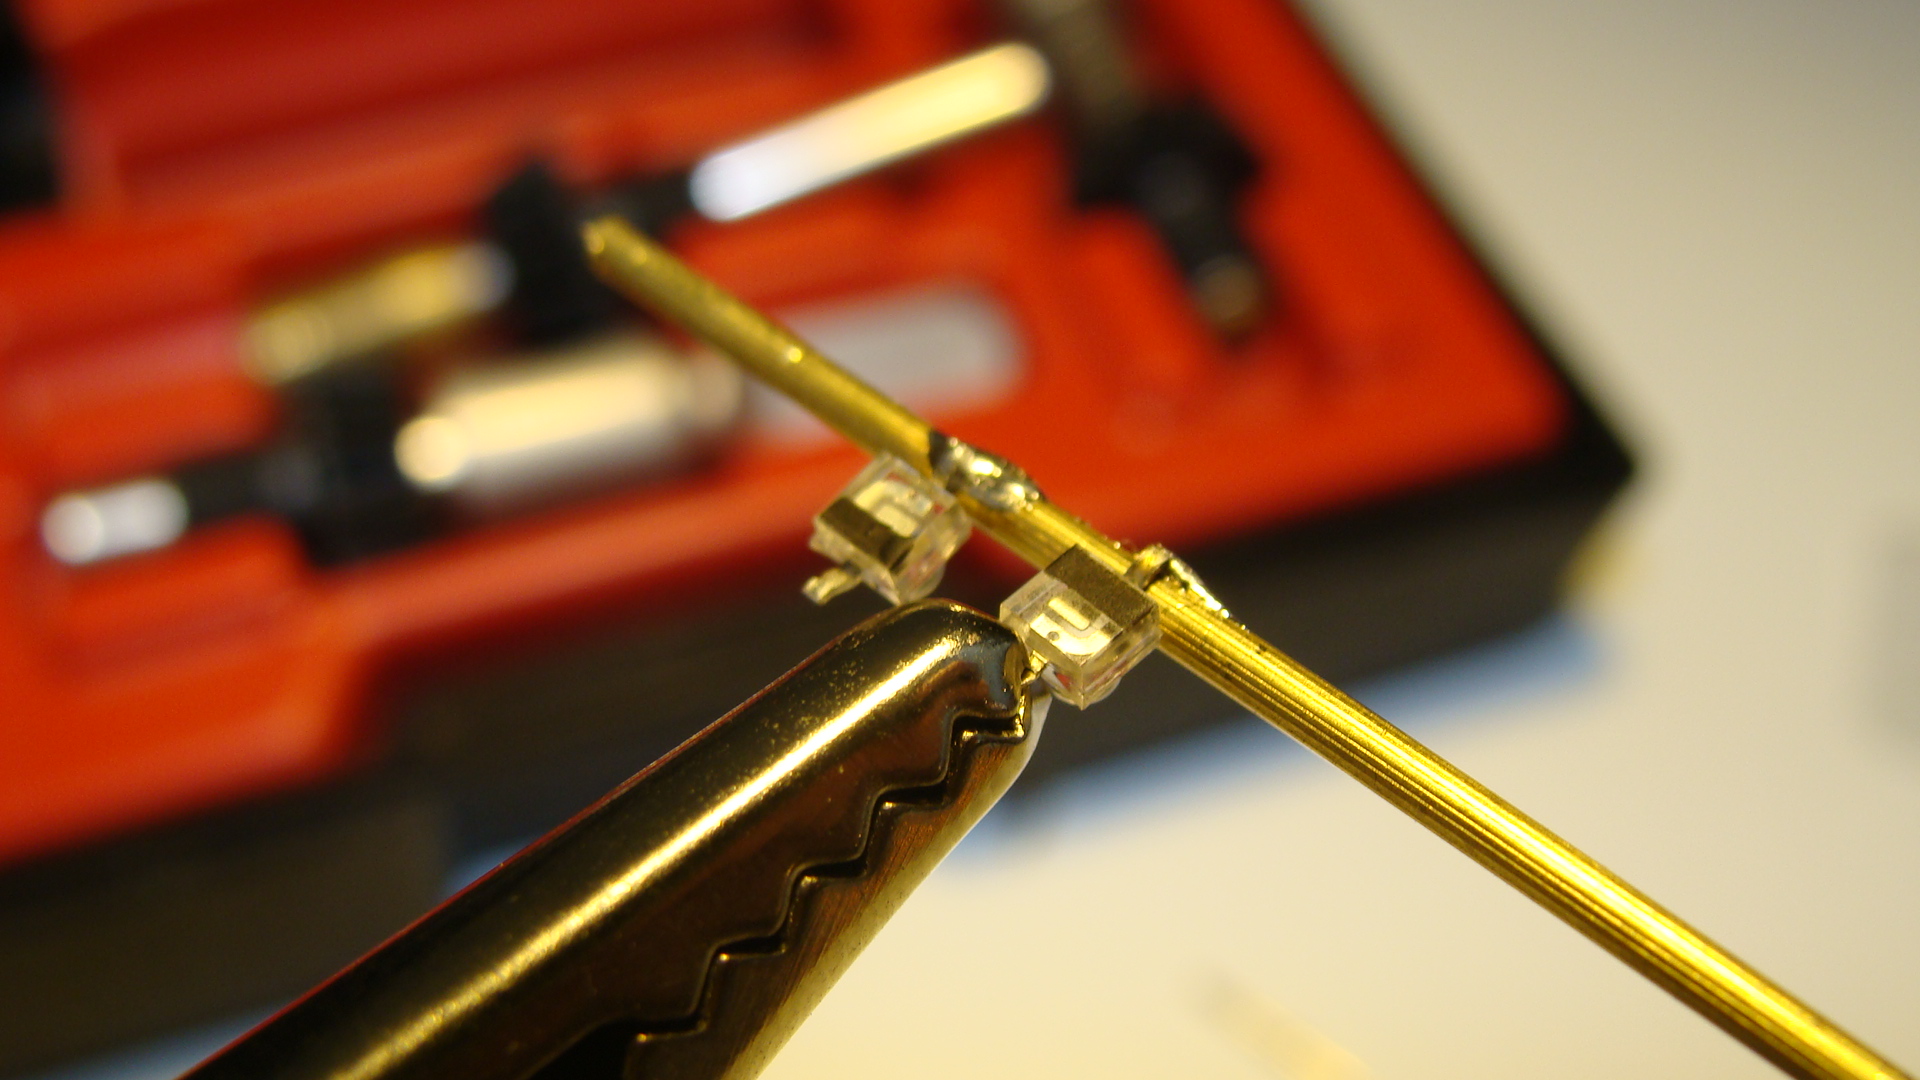

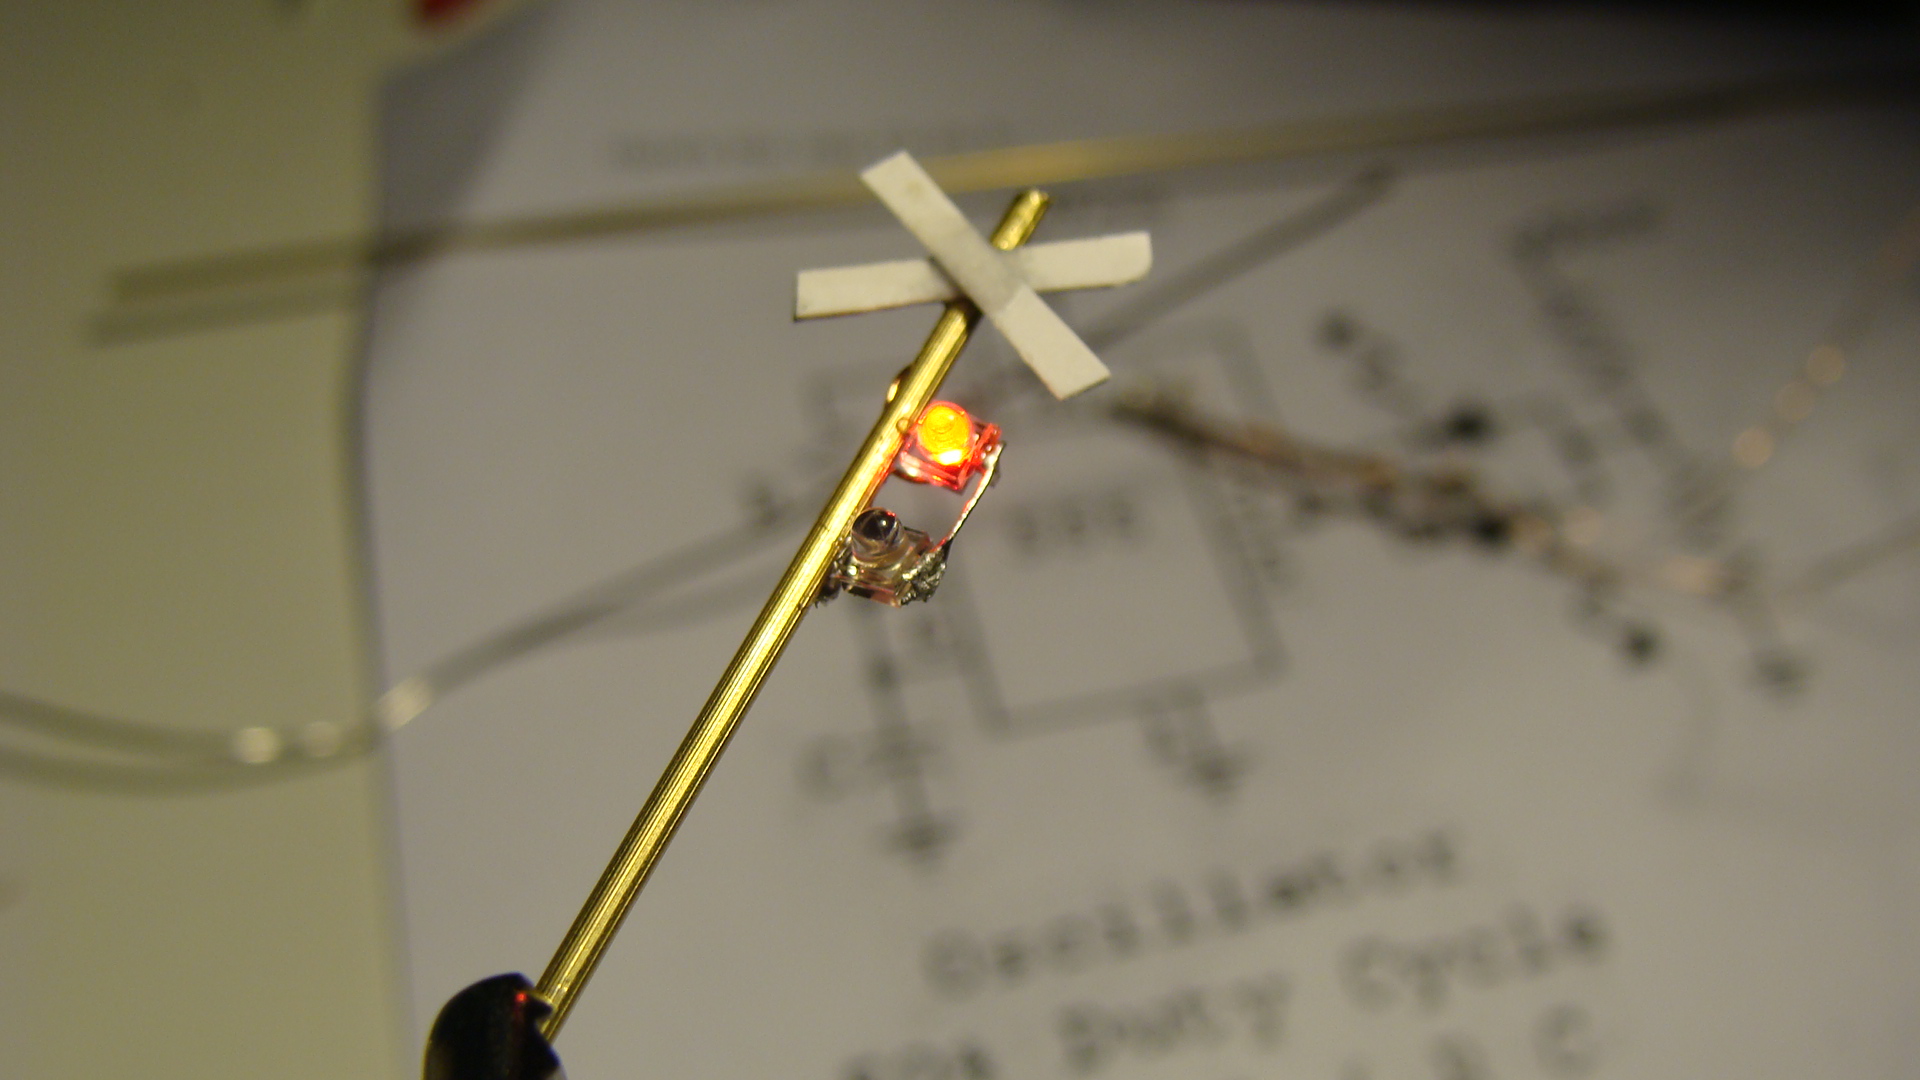
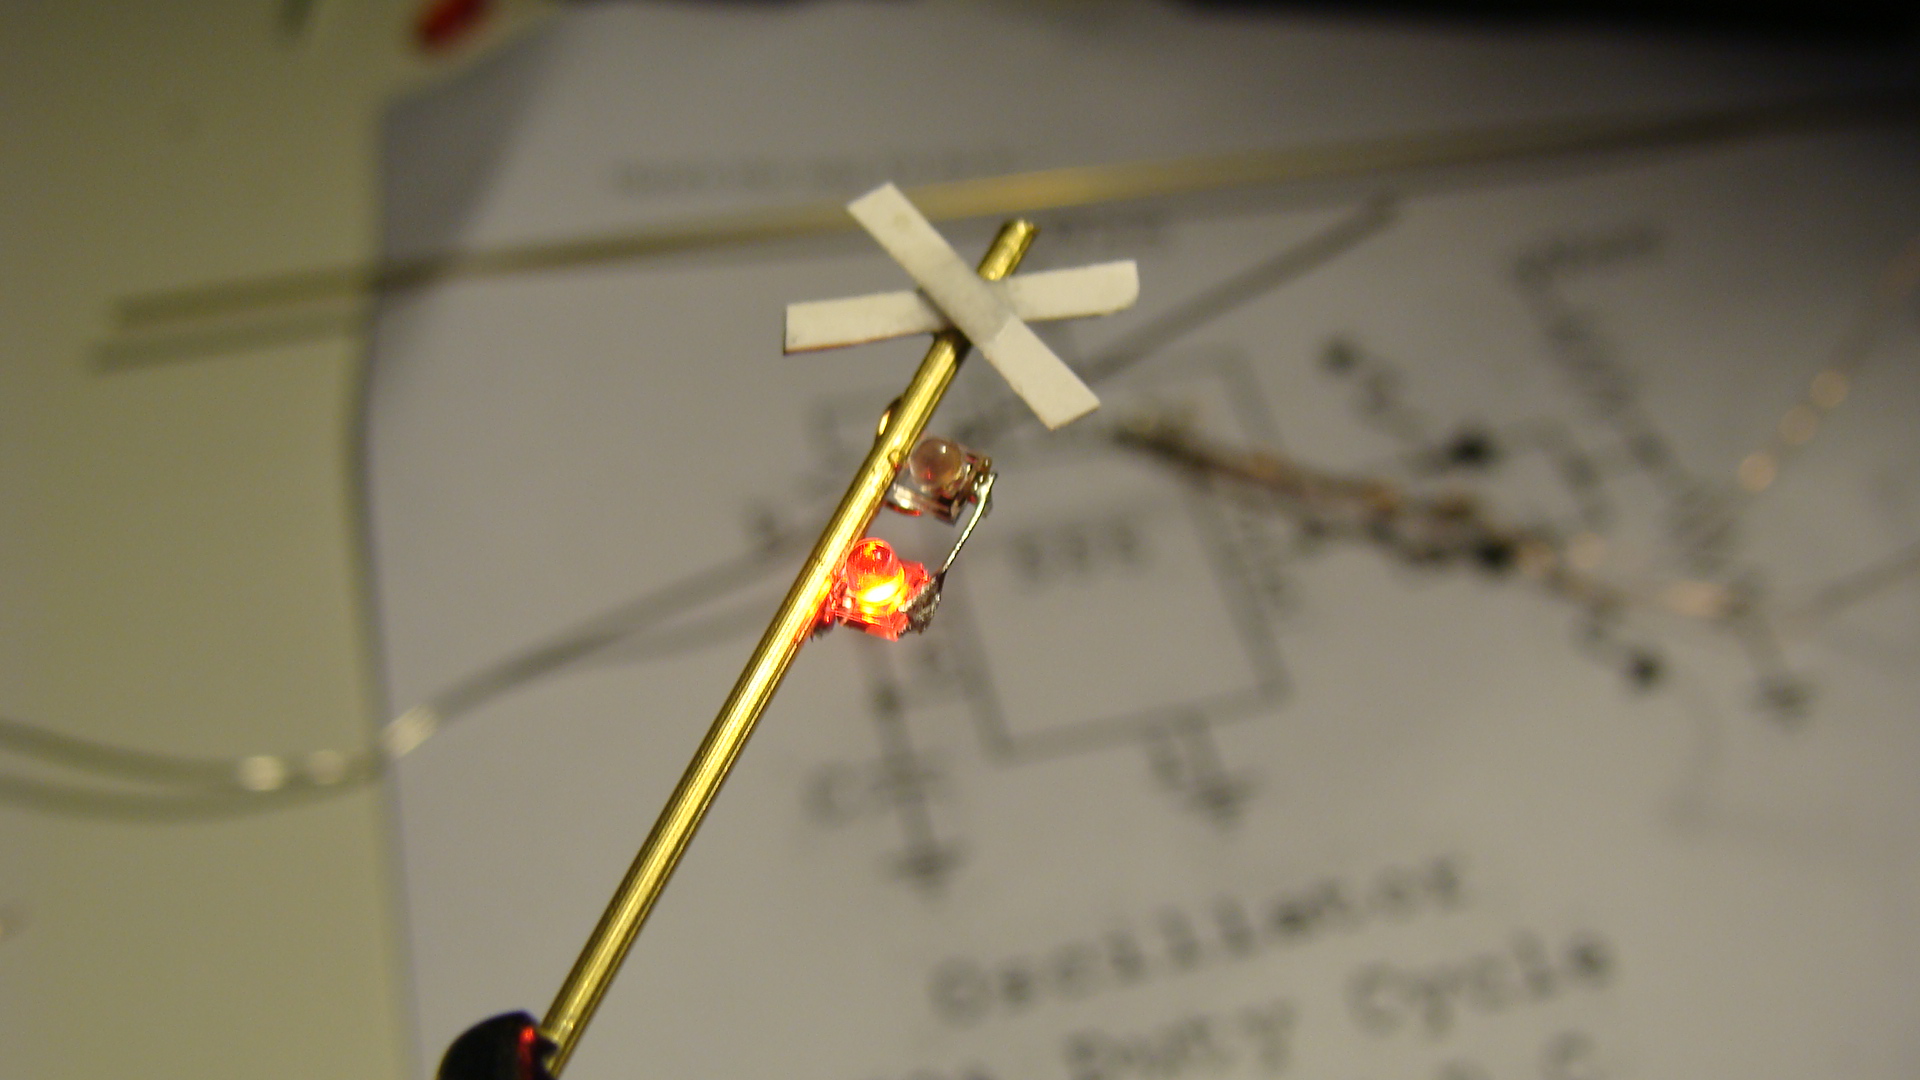
Next rotate the pole around and then solder the LEDs into place. Make sure that one LED is reverse polarity!
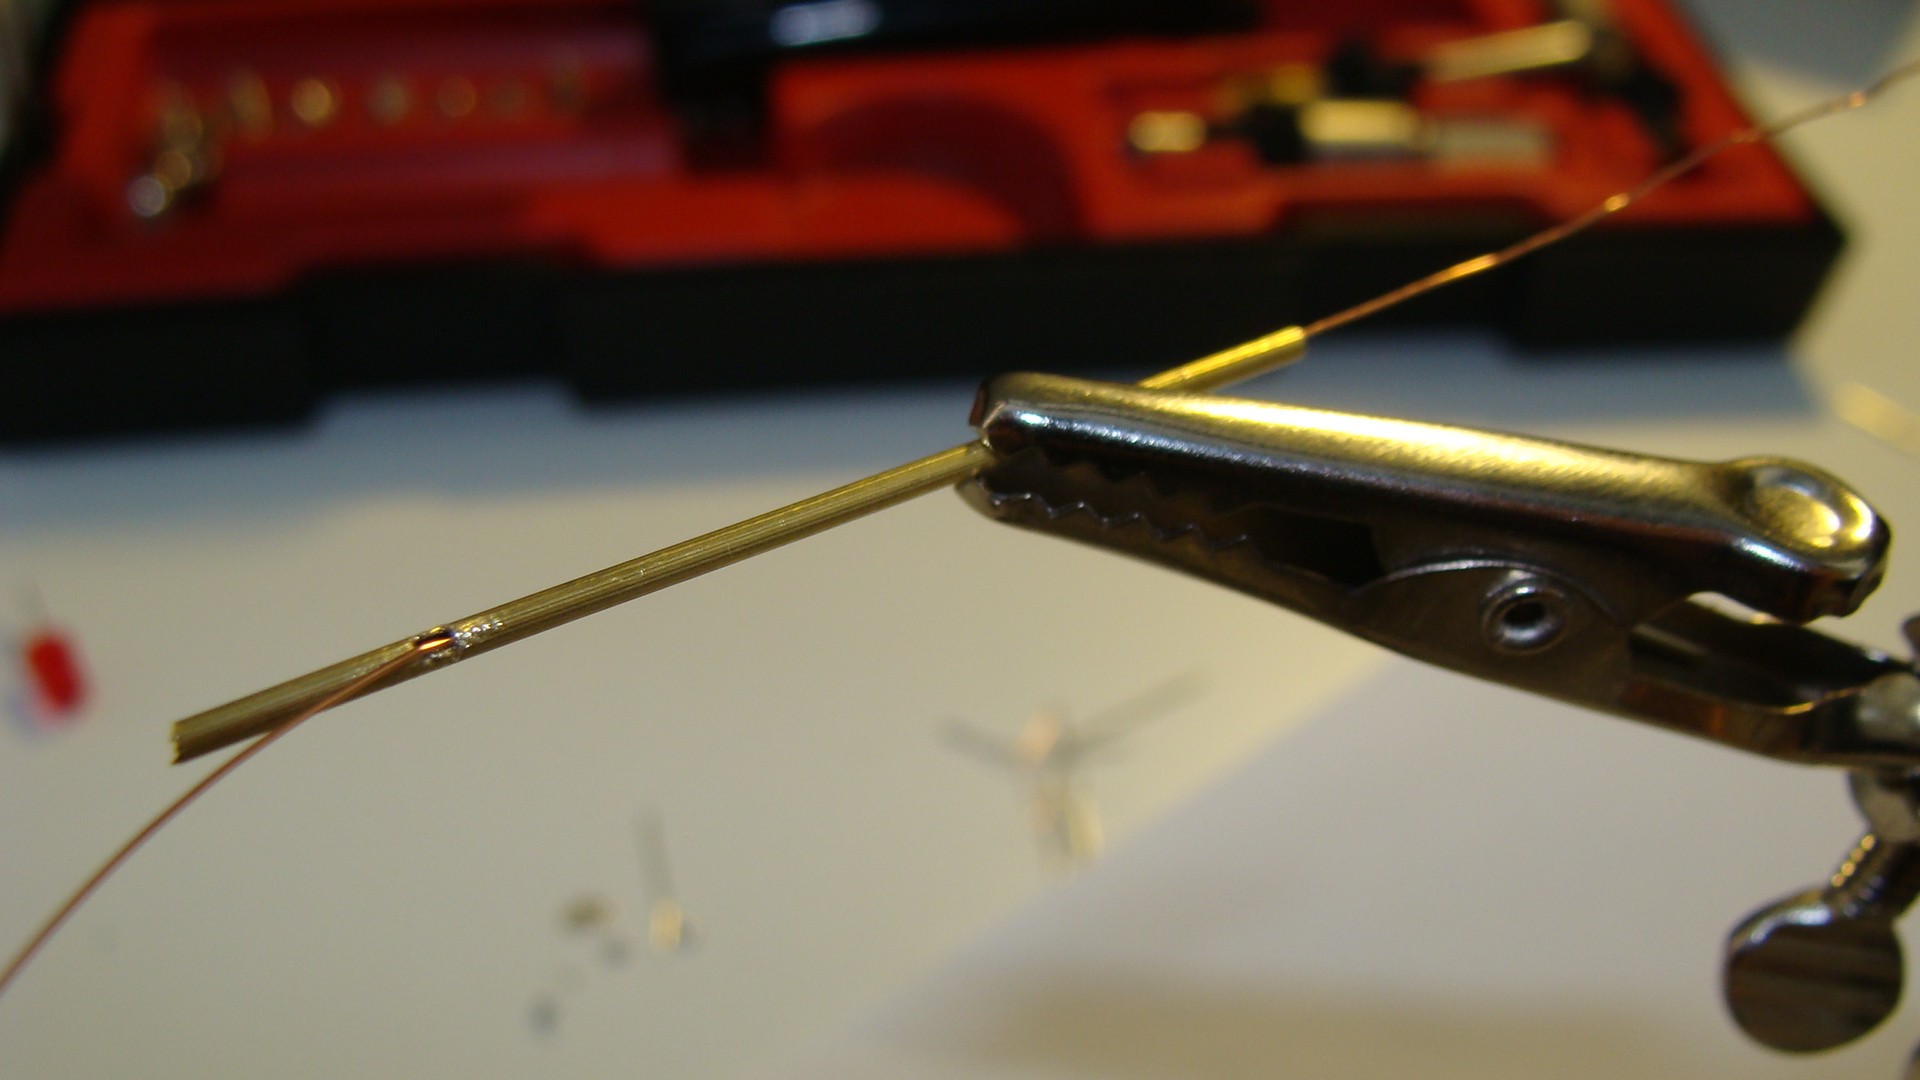
Also solder a wire to the base of the main pole.
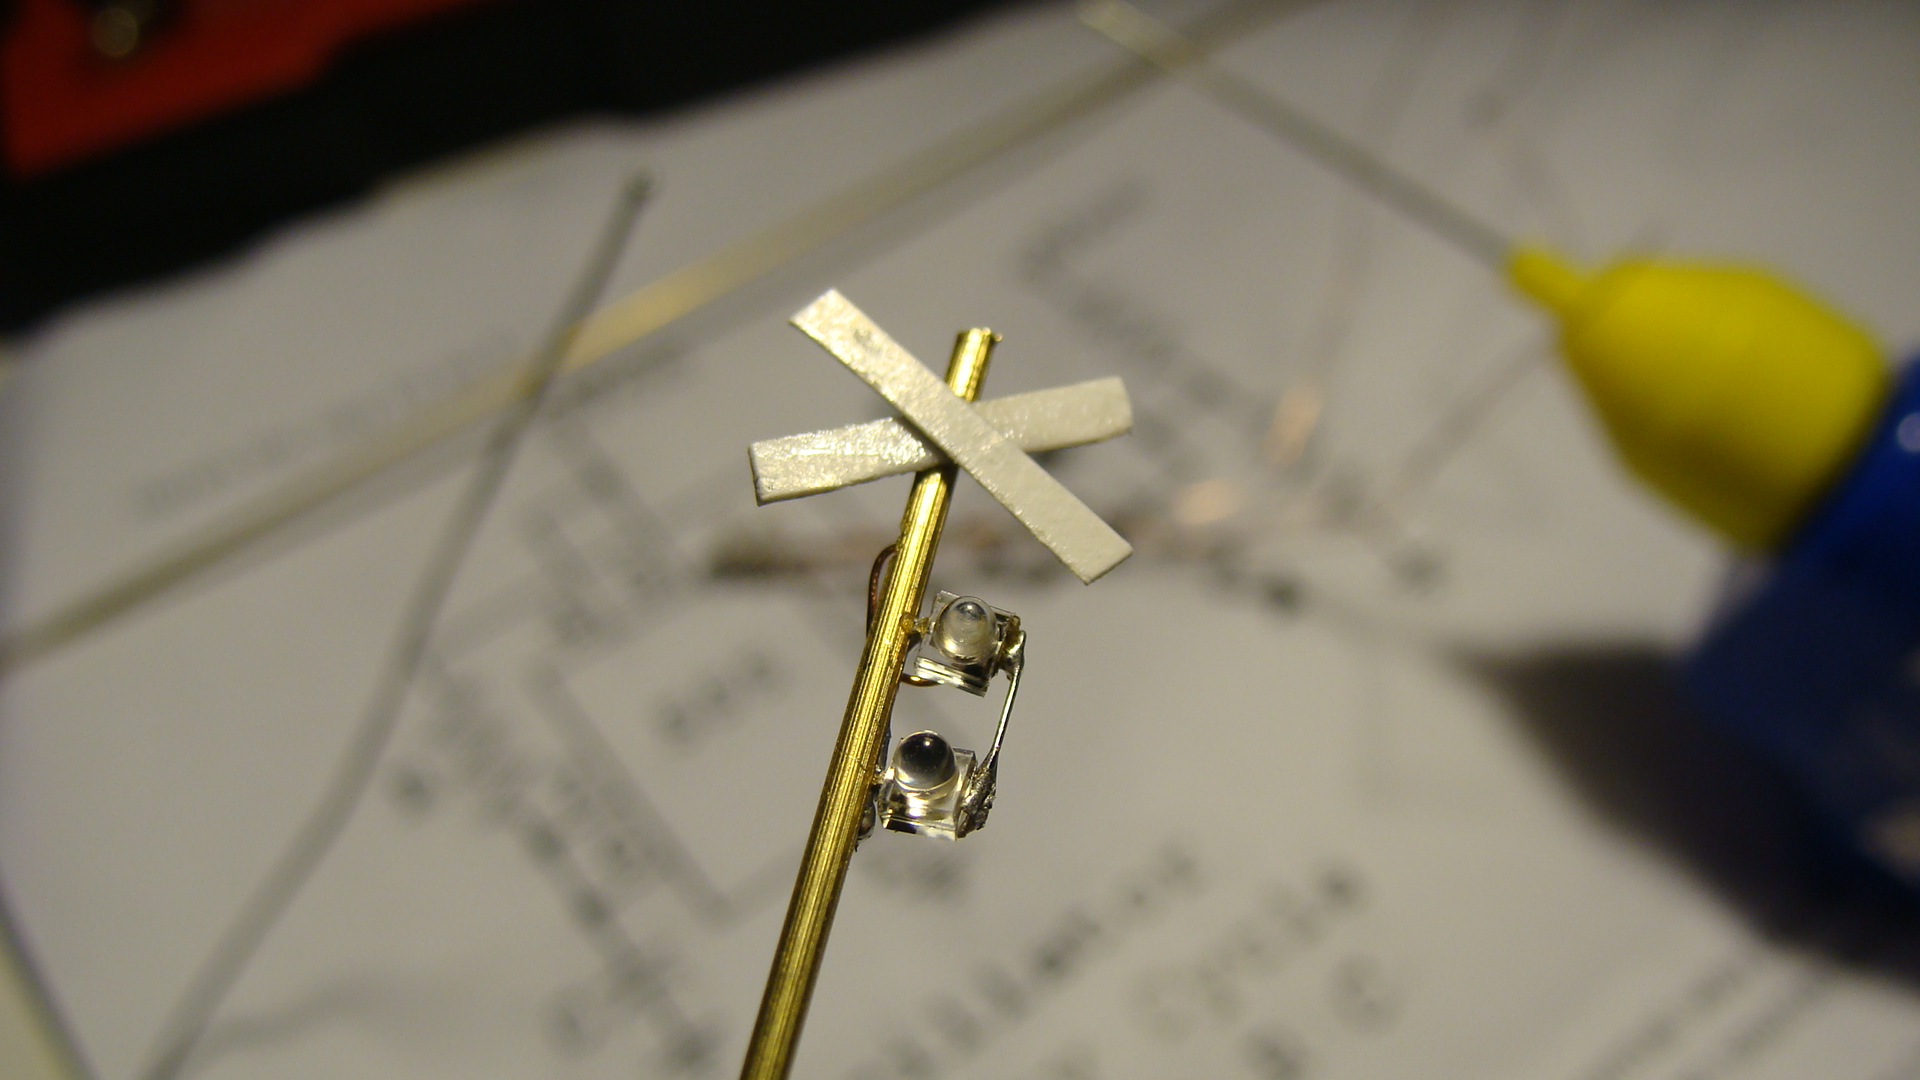
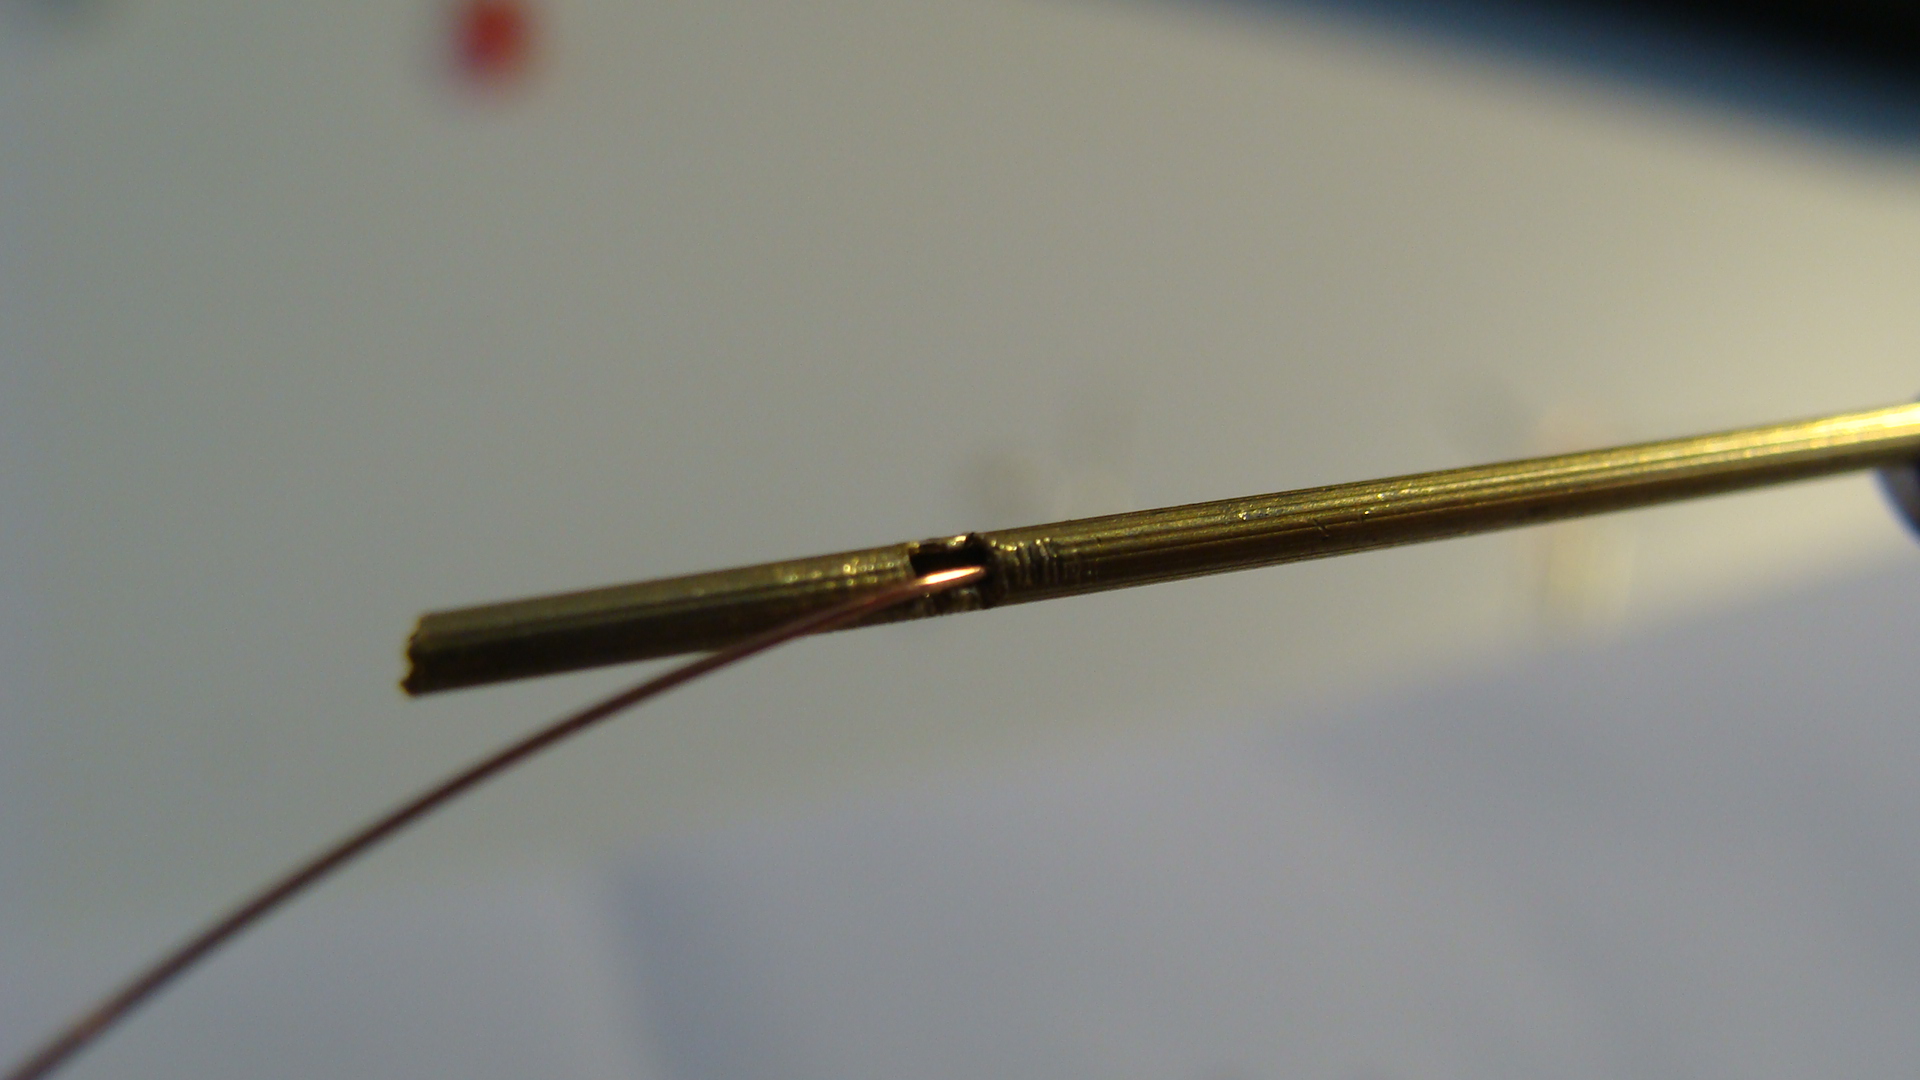
Run the thing copper wire from the tabs on the LEDs into the hole and then out the bottom of the main pole. Do this after all soldering to avoid melting the insulation.
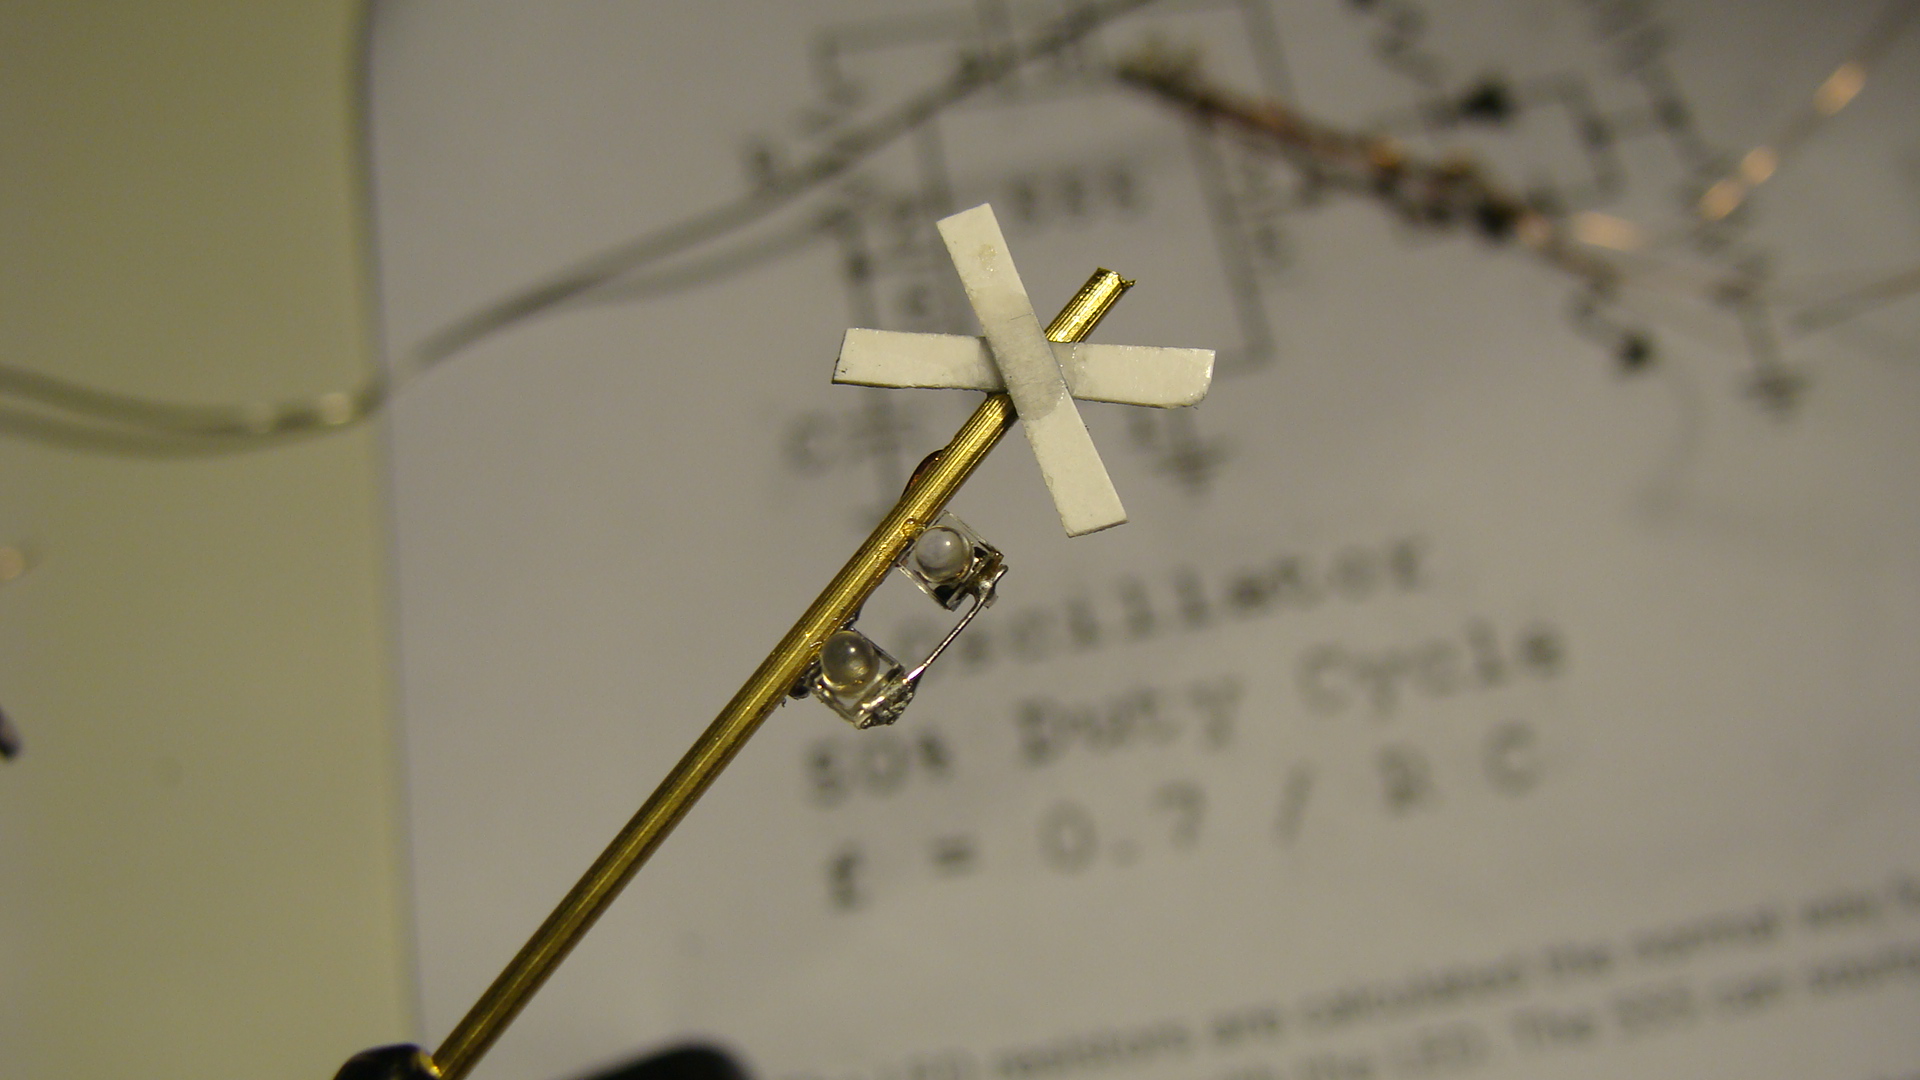
Cut some thin strips of cardboard and glue them as the cross above the lights.
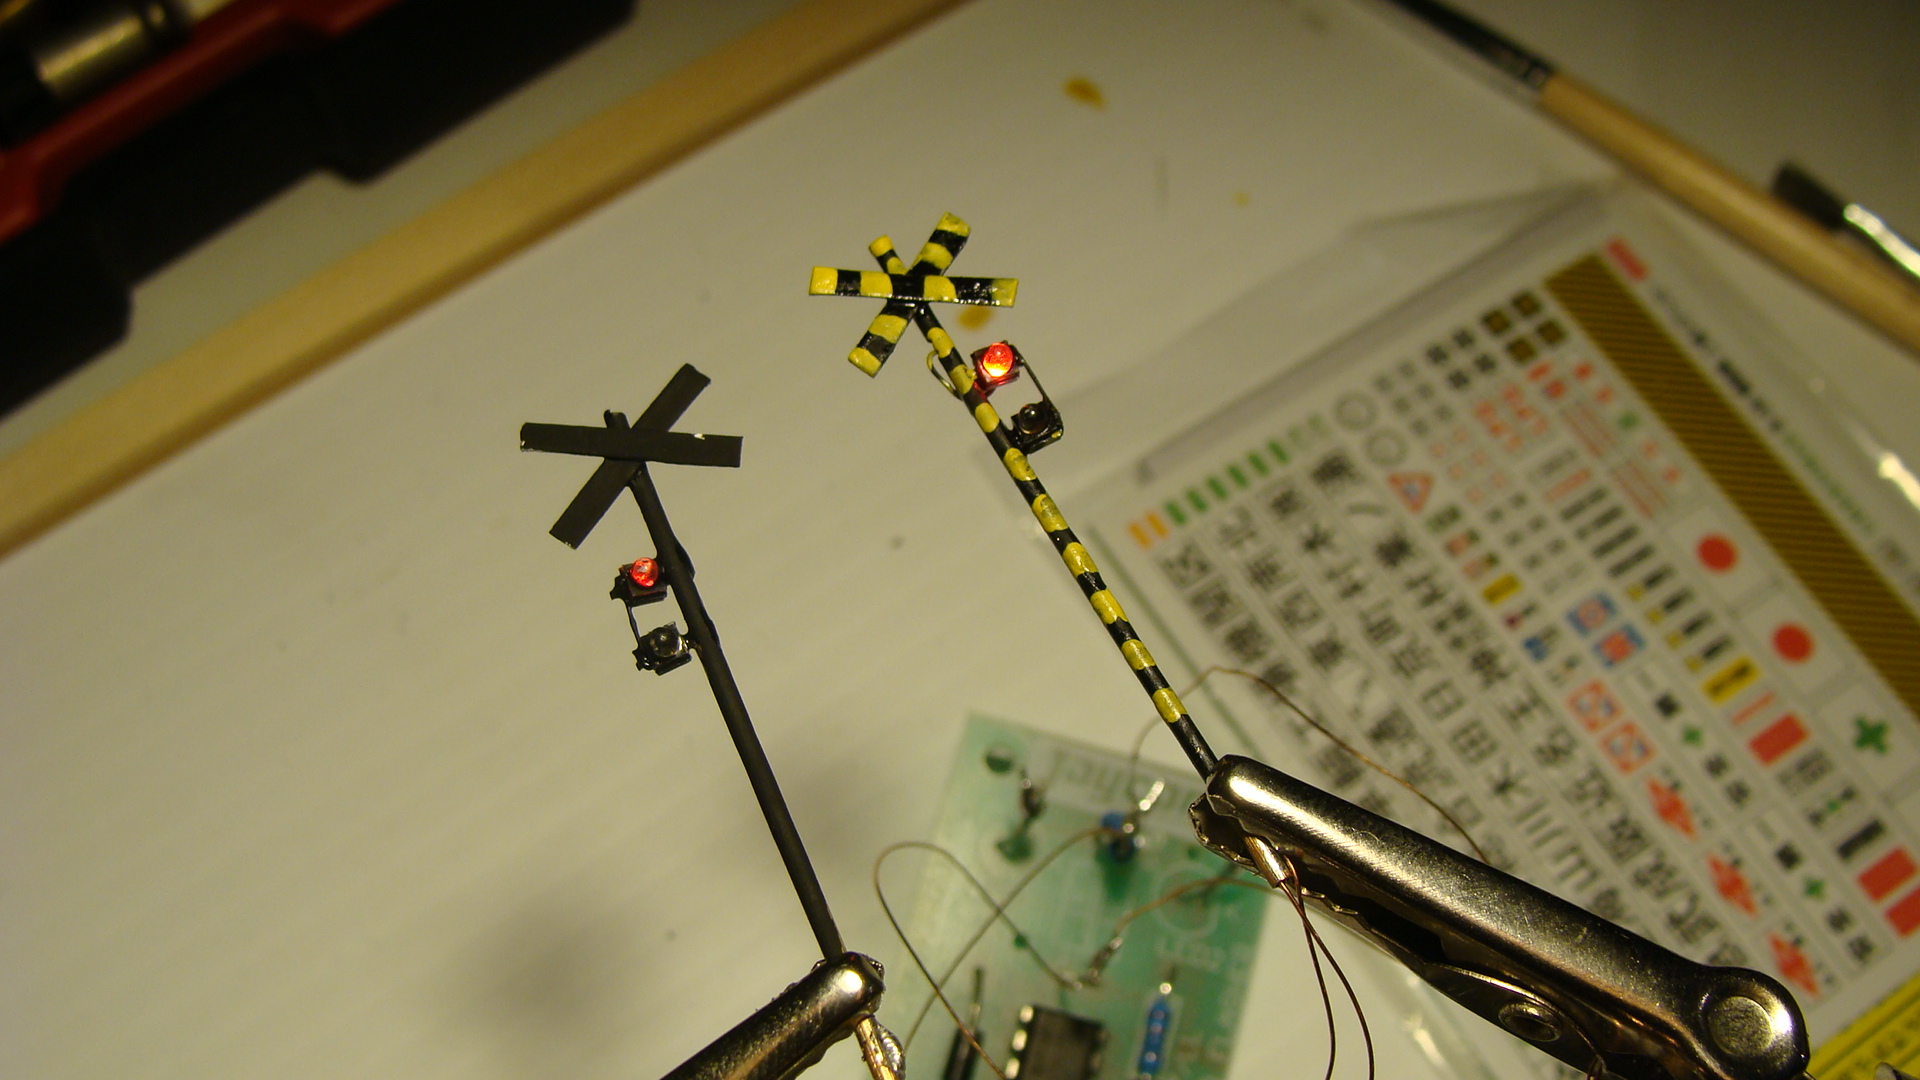
Apply some paint, I was a little sloppy.

Add your favourite flasher circuit. Make sure that it swaps polarity to only have to use two wires.
And that's about it... Signals next.
Random Photos
Search
Tags
Ads
Links - Click for details
- Abandoned Rails (Japan)
- AIRLINE (Shinkansen Photography)
- Akihabara Station
- annexpressのブログ
- Australian Model Railway Magazine
- DCC普及協会ホームページ (Japanese DCC)
- Dead Section (Japanese Track Diagrams)
- Delicious Things (Japanese N Scale DCC)
- Densha Wotorou
- Digital Direct for Windows (DCC Server)
- Don's Dream World – AMAZING N Scale Japanese Layout
- Hatena::Diary
- Japanese N-Scale Modeling Forum
- JR Chiisai
- Kaz-T's blog レインボーライン (Rainbow Line)
- LED Resitance Calculator
- Masioka
- Poppondetta Blog
- RailFan Magazine, Japan
- Railmind
- Railway Travelers' Room
- Serenity Valley
- Shashinka Ichiban
- Shuzuku
- Sumida Crossing
- The next station is…
- Tomix N Gauge Track and Japanese N Gauge Trains
- TT Forums (Transport Tycoon Deluxe)
- 名鉄尾西線の貨物列車 (Nagoya: Meitetsu Freight)
- 日本型Nゲージ DCC改造例のご紹介 (Okiraku DCC)
- 泰 茅 轍 道 (Taichi Railway)
- 箱庭登山鉄道製作記 (Hakone-Tozan Layout Blog)
Archive
- May 2024
- April 2024
- March 2024
- February 2024
- December 2023
- October 2023
- September 2023
- August 2023
- July 2023
- June 2023
- May 2023
- April 2023
- March 2023
- December 2022
- November 2022
- October 2022
- April 2022
- March 2022
- February 2022
- January 2022
- December 2021
- November 2021
- September 2021
- August 2021
- July 2021
- May 2021
- March 2021
- February 2021
- January 2021
- October 2020
- September 2020
- August 2020
- July 2020
- June 2020
- May 2020
- April 2020
- March 2020
- January 2020
- December 2019
- November 2019
- October 2019
- September 2019
- August 2019
- July 2019
- June 2019
- April 2019
- March 2019
- February 2019
- January 2019
- December 2018
- November 2018
- October 2018
- September 2018
- August 2018
- July 2018
- June 2018
- May 2018
- April 2018
- March 2018
- January 2018
- December 2017
- November 2017
- October 2017
- September 2017
- August 2017
- July 2017
- June 2017
- May 2017
- March 2017
- February 2017
- January 2017
- December 2016
- November 2016
- October 2016
- September 2016
- August 2016
- July 2016
- June 2016
- May 2016
- February 2016
- November 2015
- October 2015
- September 2015
- August 2015
- July 2015
- June 2015
- May 2015
- April 2015
- March 2015
- February 2015
- January 2015
- December 2014
- November 2014
- August 2014
- July 2014
- May 2014
- April 2014
- March 2014
- December 2013
- November 2013
- October 2013
- June 2013
- August 2012
- April 2012
- March 2012
- February 2012
- November 2011
- October 2011
- September 2011
- July 2011
- June 2011
- May 2011
- April 2011
- March 2011
- February 2011
- January 2011
- December 2010
- November 2010
- October 2010
- September 2010
- August 2010
- June 2010
- May 2010
- April 2010
- March 2010
- February 2010
- January 2010
- December 2009
- November 2009
- October 2009
- August 2009
- January 2009
- December 2008
- November 2008
- October 2008
- September 2008
- July 2008
December 14th, 2009 - 04:00
Nice! What size brass tubing did you use? What size magnet wire?
December 19th, 2009 - 21:33
Don, the tubing was 1.0mm (or 1.2mm, definately less than 1.5mm) and the winding wire was 0.6mm. Forgive me for the arbitrary figures, I’m unable to get near the actual model for a while.
December 19th, 2009 - 03:54
Wow. Beautiful work. I did something similar for some basic track signals, but nowhere as nice as these. Thanks for sharing your wiring diagram as well, this could be very handy! :-)
March 16th, 2011 - 03:52
buenisimo cuando lo tenga el material lo empiezo a hacer.
March 16th, 2011 - 07:43
This loosely translates to: “Awesome! When I get the materials, I’ll start to build my own.”
Thanks fleming12bar; if you’re not spam :)